So you’ve invested in a super-automatic espresso machine and want to make sure it stays in perfect condition for serving you delicious coffee day after day. One crucial aspect of maintenance is descaling and cleaning the internal components of the machine. Understanding the process and taking the necessary steps will not only keep your espresso machine functioning optimally but also prolong its lifespan. In this article, we will guide you through the steps to descale and clean the internal components of a super-automatic espresso machine, ensuring you continue to enjoy the perfect cup of coffee every morning.
Prepare the machine for cleaning
Before you begin the cleaning process, it is important to prepare your machine. This involves a few simple steps: turning off the machine, removing the water tank, and emptying the coffee grounds container. By following these steps, you can ensure a smooth and efficient cleaning process.
Turn off the machine
The first step in preparing your super-automatic espresso machine for cleaning is to turn it off. This will prevent any accidents or mishaps while you are working on the internal components. Locate the power button or switch on your machine and make sure it is in the “off” position. Safety should always be the top priority!
Remove the water tank
Next, you will need to remove the water tank from your machine. This is where the water for brewing your espresso is stored, and it is important to clean and descale this component regularly. Depending on your machine, the water tank may be located at the back or side. Gently lift the tank out of its slot and set it aside for now.
Empty the coffee grounds container
Lastly, you will need to empty the coffee grounds container. This is where the used coffee grounds are collected after each brewing cycle. Over time, these grounds can build up and impact the quality of your espresso. Locate the container and remove it from the machine. Empty the contents into a separate container, and give it a quick rinse if necessary. Now that your machine is prepared, it’s time to move on to the descaling process.
Descaling the machine
Descaling is an essential step in maintaining the performance of your super-automatic espresso machine. Over time, mineral deposits from the water can build up in the internal components, affecting the taste and quality of your espresso. Here is a step-by-step guide on how to descale your machine effectively.
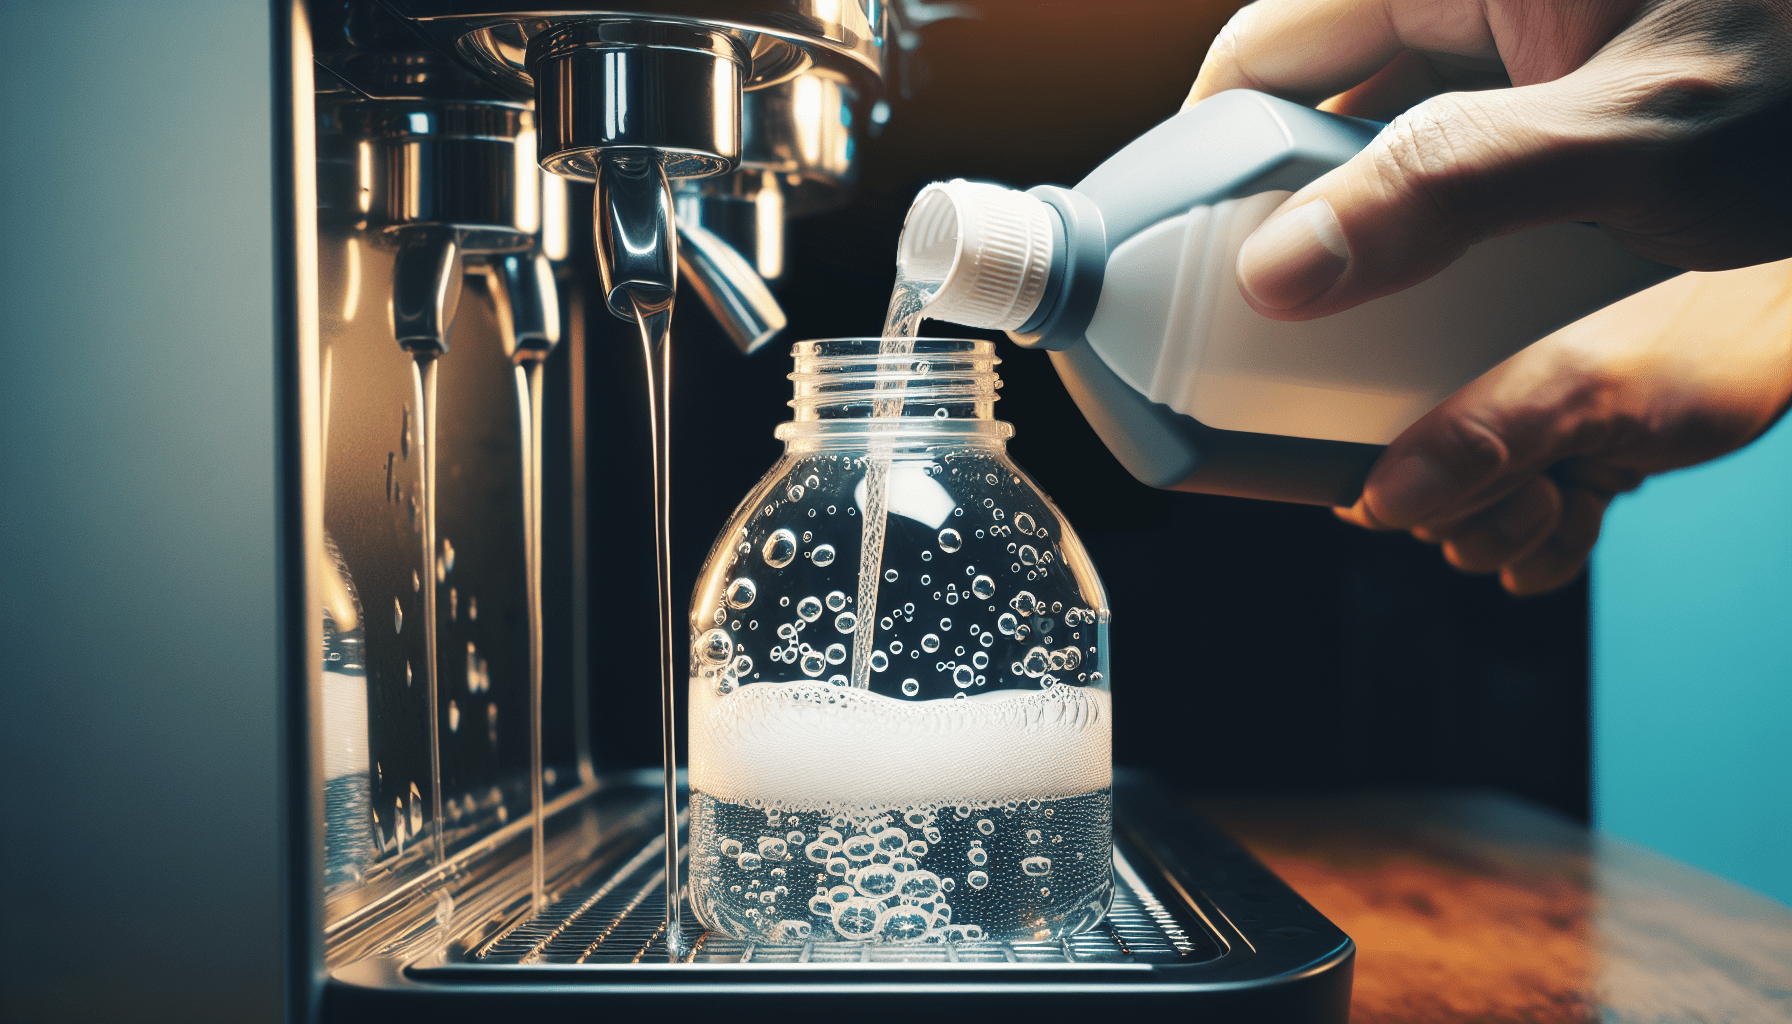
Mix the descaling solution
To begin, you will need to mix the descaling solution. Many espresso machine manufacturers offer their own specially formulated descaling solutions, which are designed to effectively remove mineral buildup without damaging the internal components. Follow the instructions provided with your descaling solution to mix the appropriate amount with water in a separate container.
Pour the descaling solution into the water tank
Once your descaling solution is ready, carefully pour it into the water tank of your espresso machine. Be sure to fill it to the recommended level indicated by the manufacturer. This is typically marked by a maximum fill line on the tank. Take care not to overfill, as this can cause spillage during the descaling process.
Start the descaling process
With the descaling solution in the water tank, you can now start the descaling process. Refer to your machine’s user manual to locate the descaling program or cycle. Once you have found it, initiate the cycle according to the manufacturer’s instructions. This will typically involve pressing a combination of buttons or selecting a specific descaling mode from the machine’s control panel.
Flush the water tank with clean water
After the descaling cycle is complete, it is important to flush the water tank with clean water to remove any remaining descaling solution. Empty the water tank and rinse it thoroughly with clean water. Repeat this process until the water tank is free from any residue or odor. This step ensures that your future cups of espresso are not affected by any remnants of the descaling solution.
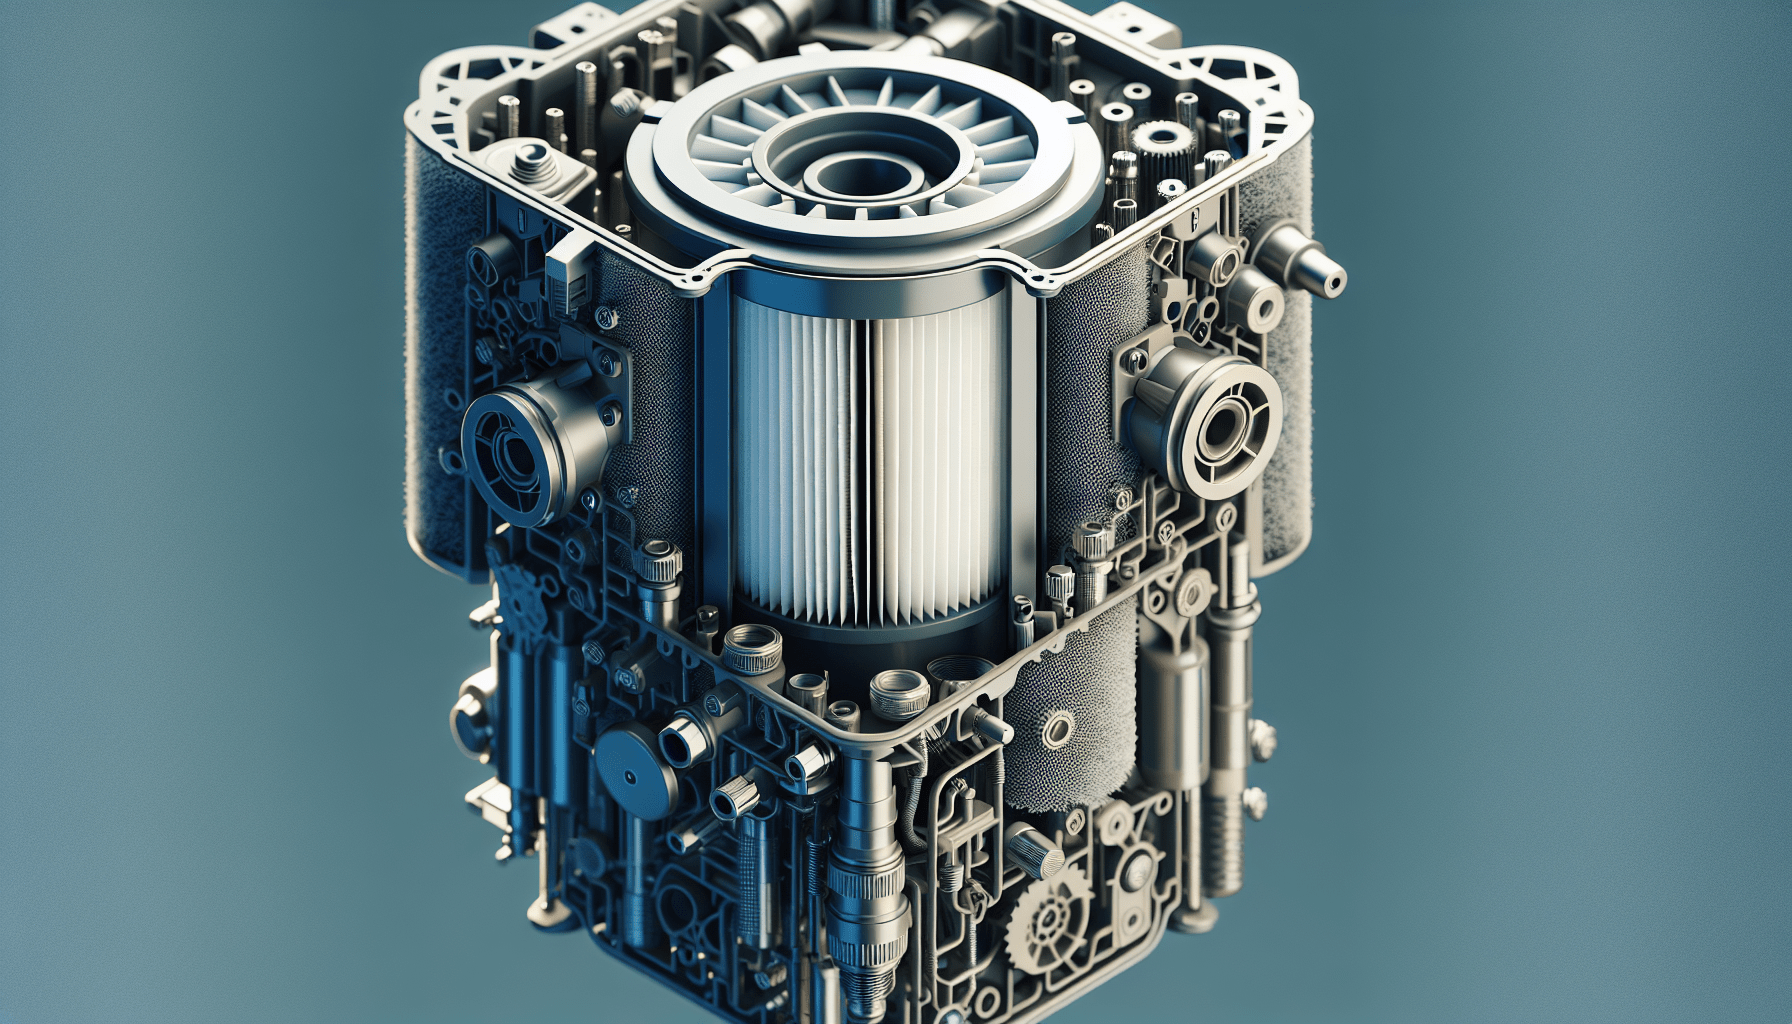
Cleaning the brew group
The brew group is a crucial component of your super-automatic espresso machine. It is responsible for brewing the coffee and needs to be cleaned regularly to ensure optimal performance. Here’s how you can clean the brew group effectively.
Remove the brew group
To begin cleaning the brew group, you will first need to remove it from the machine. Refer to your machine’s user manual to locate the specific steps for removing the brew group. In most cases, it can be accessed by opening a door or panel on the front of the machine. Once you have removed the brew group, set it aside on a clean surface.
Clean the brew group with warm water
Using warm water, gently clean the brew group to remove any coffee residue or oils that may have accumulated. You can use a soft brush or cloth to scrub the surfaces, ensuring that all parts are thoroughly cleaned. Take care not to use any abrasive materials or harsh detergents, as these can damage the brew group.
Remove any remaining coffee residue
After cleaning the brew group with warm water, inspect it for any remaining coffee residue. If you notice any stubborn stains or buildup, you can use a mild cleaning solution specifically designed for coffee machines. Apply the solution to a cloth or brush and gently scrub the affected areas until the residue is removed. Rinse the brew group with clean water to ensure that no cleaning solution remains.
Dry the brew group thoroughly
Once the brew group is clean, it is important to dry it thoroughly before reassembling it into the machine. Use a clean cloth or towel to absorb any excess moisture. Ensure that all surfaces are free from moisture to prevent the growth of mold or bacteria. Now that the brew group is clean and dry, you can move on to cleaning the milk frother.
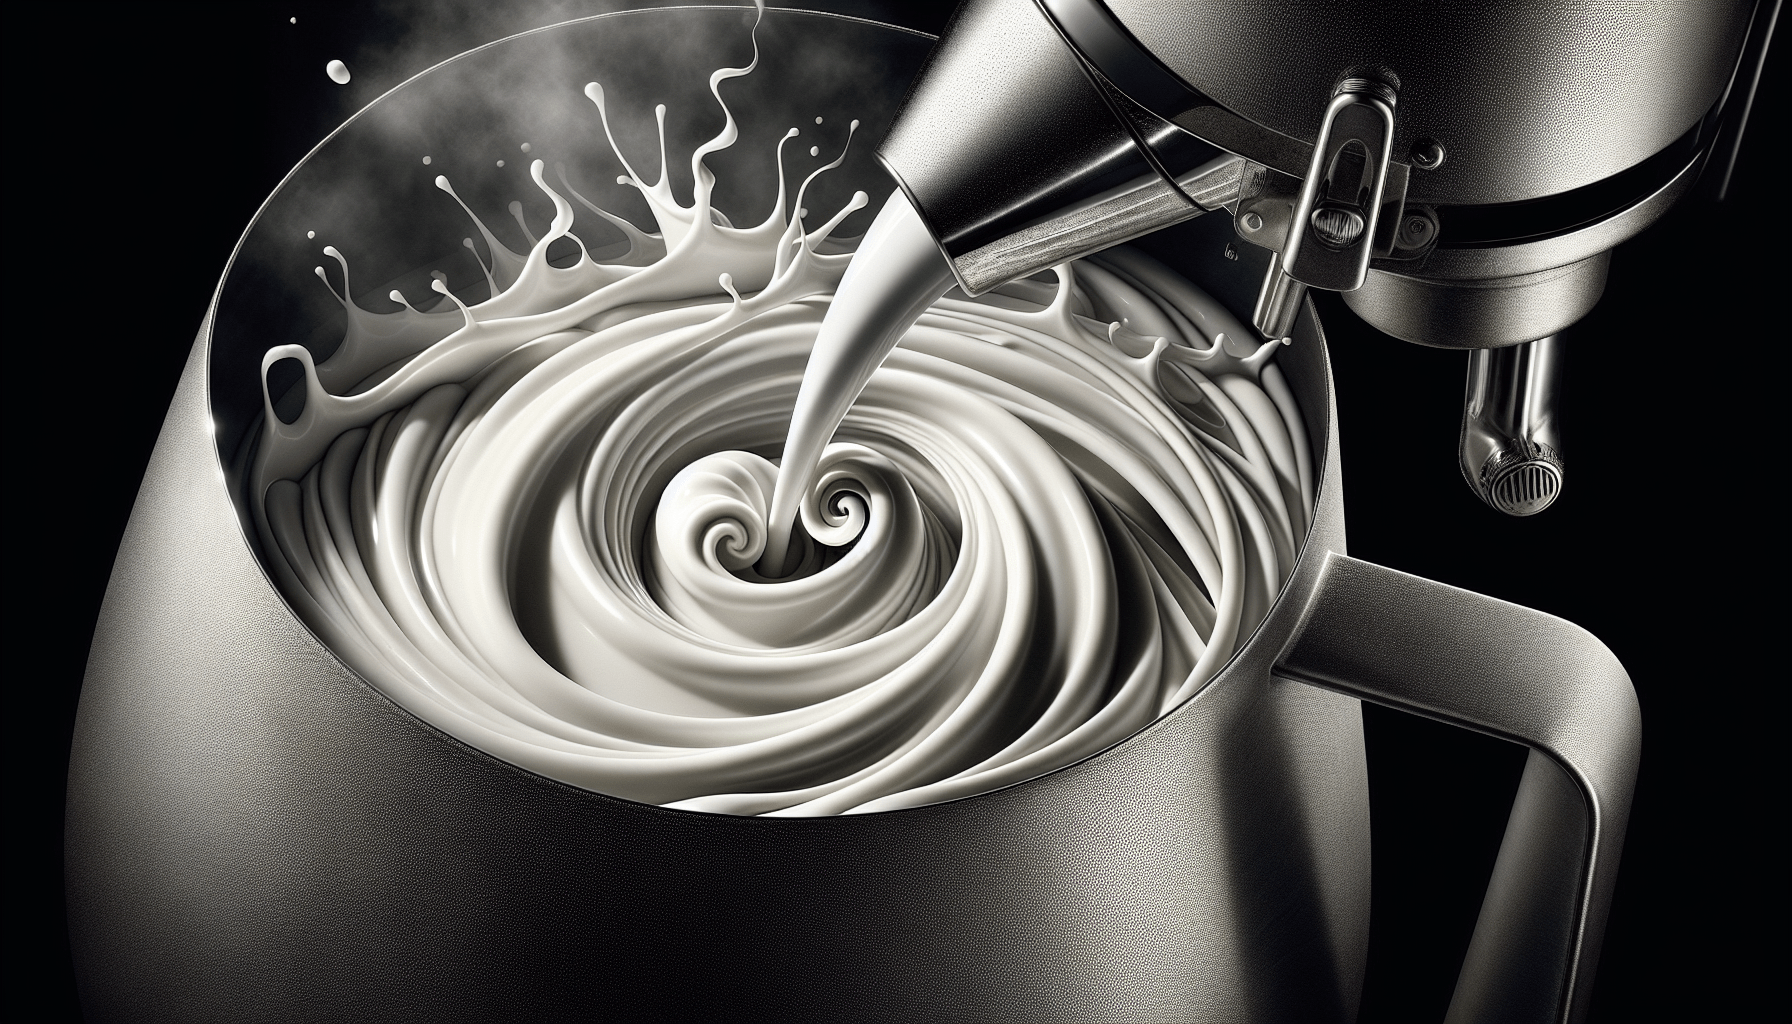
Cleaning the milk frother
The milk frother of your espresso machine adds a touch of luxury to your coffee experience, allowing you to create delicious creamy cappuccinos and lattes. However, it is important to clean the milk frother regularly to prevent any buildup of milk residue or bacteria. Follow these steps to clean your milk frother effectively.
Flush the milk frother with hot water
Before you begin cleaning the milk frother, it is important to flush it with hot water. This step helps remove any residual milk from the frother, making the cleaning process more effective. To flush the frother, place a container of hot water under the frother nozzle and activate the milk frothing function. Allow hot water to flow through the nozzle for a few seconds, ensuring all milk residue is flushed out.
Clean the frother nozzle with a cloth
Once the frother has been flushed with hot water, it’s time to clean the frother nozzle. Using a clean cloth or sponge, wipe the nozzle carefully to remove any remaining milk residue. Pay attention to any hard-to-reach areas or crevices where milk residue may accumulate. Ensure that the nozzle is completely clean before proceeding to the next step.
Remove and clean the milk frother components
Depending on your machine, the milk frother may have removable components that need to be cleaned separately. Refer to your machine’s user manual to determine if this applies to your milk frother. If so, remove the detachable components and wash them with warm soapy water. Use a soft brush or cloth to remove any milk residue or stains. Rinse the components thoroughly and dry them before reassembling.
Reassemble and soak the frother in hot water
Once all the components are clean and dry, reassemble the milk frother according to the manufacturer’s instructions. Fill a container with hot water and immerse the frother in it, allowing it to soak for a few minutes. This helps to further remove any residual milk and ensures that the frother is thoroughly cleaned. After soaking, rinse the frother with clean water and dry it completely before reattaching to the machine.
Cleaning the grinder
The grinder is an integral part of your super-automatic espresso machine, responsible for grinding the coffee beans to the desired consistency. Regular cleaning of the grinder ensures that your coffee remains fresh and free from any stale or lingering flavors. Follow these steps to clean your grinder effectively.
Remove the bean hopper
To access the grinder, you will need to remove the bean hopper. The bean hopper is the container that holds the coffee beans before they are ground. Check your machine’s user manual for specific instructions on removing the hopper, as it may vary depending on the model. Once removed, set the hopper aside in a clean and safe place.
Clean the hopper and burrs with a brush
Using a soft brush, gently clean the inside of the bean hopper to remove any loose coffee particles or debris. Pay attention to any hard-to-reach areas or corners. After cleaning the hopper, focus on the burrs – the grinding mechanism inside the machine. Use the brush to gently remove any coffee residue or oils that may have accumulated on the burrs. Take care not to apply too much pressure to prevent any damage.
Remove and clean the coffee ground chute
Next, you will need to remove and clean the coffee ground chute. This is the pathway through which the coffee grounds exit the grinder. Refer to your machine’s user manual for specific instructions on removing the chute, as it can vary depending on the model. Once removed, clean the chute with warm water and a small brush, ensuring that all coffee residue is removed. Rinse the chute thoroughly before reattaching it.
Reassemble the grinder parts
After cleaning the hopper, burrs, and coffee ground chute, it’s time to reassemble the grinder components. Follow the manufacturer’s instructions to ensure that each part is reattached correctly and securely. Double-check that all parts are clean and free from any residue before reassembling. Once the grinder is reassembled, you can move on to cleaning the water reservoir.
Cleaning the water reservoir
The water reservoir is an essential part of your super-automatic espresso machine, holding the water used for brewing. Cleaning the reservoir ensures that it remains free from any impurities or buildup, maintaining the quality of your espresso. Follow these steps to clean your water reservoir effectively.
Empty and rinse the water reservoir
To begin cleaning the water reservoir, empty any remaining water from it. Remove the reservoir from the machine and pour out the water into a sink or container. Rinse the interior of the reservoir with warm water to remove any residue or impurities. Take care not to use any abrasive materials that could scratch or damage the reservoir.
Clean the reservoir with mild detergent
After rinsing, fill a container with warm water and add a small amount of mild detergent. Immerse the water reservoir in the soapy water and scrub it gently with a sponge or cloth. Pay attention to any areas that may have buildup or stains. Ensure that the detergent is thoroughly rinsed off by rinsing the reservoir with clean water multiple times.
Rinse thoroughly and dry before reinserting
After cleaning the reservoir with detergent, rinse it thoroughly with clean water to remove any traces of soap. Make sure that all soap residue is removed to avoid affecting the taste of your espresso. Once rinsed, dry the reservoir completely before reinserting it into the machine. This prevents any moisture from entering the internal components of the machine and potentially causing damage.
Cleaning the drip tray
The drip tray is designed to catch any excess water or spills during the brewing process. Over time, it can accumulate coffee residue or other impurities, making it necessary to clean it regularly. Follow these steps to clean your drip tray effectively.
Remove the drip tray and grid
To begin, you will need to remove the drip tray and grid from your espresso machine. The location and method for removing the drip tray may vary depending on the model, so refer to your machine’s user manual for specific instructions. Once removed, set the drip tray and grid aside.
Clean the drip tray with warm soapy water
Using warm soapy water, clean the drip tray thoroughly. Scrub any stains or residue with a sponge or cloth, ensuring that all surfaces are clean. Pay attention to any hard-to-reach areas or corners. Take care not to use abrasive materials that could scratch or damage the drip tray. Rinse the drip tray with clean water to remove any traces of soap.
Rinse and dry the drip tray and grid
After cleaning, rinse the drip tray and grid with clean water to ensure that all soap residue is removed. Inspect the drip tray and grid for any remaining coffee residue or stains. If necessary, repeat the cleaning process to ensure that they are spotless. Once clean, dry the drip tray and grid completely before reattaching them to the machine.
Reattach the drip tray to the machine
After the drip tray and grid are dry, reattach them to your espresso machine according to the manufacturer’s instructions. Ensure that they are securely in place to prevent any spills or accidents during the brewing process. Now that the external components are clean, it’s time to move on to cleaning the exterior of the machine itself.
Cleaning the exterior
The exterior of your super-automatic espresso machine requires regular cleaning to keep it looking shiny and new. Here’s how you can clean the exterior effectively.
Wipe the exterior with a damp cloth
Using a damp cloth, gently wipe the exterior surfaces of your espresso machine. This will remove any dust, fingerprints, or spills that may have accumulated. Be sure to wring out the cloth well to avoid any excess moisture that could damage the machine. Pay attention to any buttons, knobs, or control panels, ensuring that they are thoroughly cleaned.
Use a mild detergent for stubborn stains
For stubborn stains or grime on the exterior surfaces, you can use a mild detergent. Apply a small amount of detergent to a sponge or cloth and gently scrub the affected areas. Take care not to use excessive force or abrasive materials that could scratch or damage the machine. Rinse the cloth thoroughly and wipe away any detergent residue once you have finished cleaning.
Dry the machine thoroughly
After cleaning the exterior of your espresso machine, it is important to dry it thoroughly to prevent any moisture from damaging the surfaces. Use a clean cloth to absorb any remaining moisture, paying attention to any crevices or hard-to-reach areas. Ensure that all parts of the machine are completely dry before plugging it back in or using it.
Regular maintenance
Regular maintenance is crucial for keeping your super-automatic espresso machine in top condition. By following the manufacturer’s instructions and incorporating these maintenance tasks into your routine, you can extend the lifespan of your machine and ensure consistent, high-quality espresso.
Follow the manufacturer’s instructions
Always refer to the manufacturer’s instructions for specific maintenance guidelines and intervals. These instructions will provide you with the most accurate and reliable information for maintaining your machine. From recommended cleaning products to specific maintenance schedules, following these instructions will help you keep your espresso machine running smoothly.
Clean and check the machine regularly
Make it a habit to clean and check your espresso machine regularly. This includes cleaning the external surfaces, cleaning and descaling the internal components, and checking for any signs of wear or damage. By doing this regularly, you can catch any potential issues early on and address them before they become bigger problems.
Replace any worn-out parts
Over time, certain parts of your espresso machine may become worn out or damaged. It is important to replace these parts promptly to ensure the continued performance and longevity of your machine. Consult the manufacturer’s instructions or contact customer support to determine which parts may need replacing and how to do so correctly.
Maintain a cleaning and descaling schedule
Establishing a regular cleaning and descaling schedule is essential for maintaining the internal components of your espresso machine. Depending on the usage and water quality in your area, the frequency of cleaning and descaling may vary. Refer to the manufacturer’s instructions for their recommended schedule, and adjust accordingly based on your individual circumstances.
Final steps
After completing all the necessary cleaning and maintenance tasks, it’s time to put your machine back together and prepare it for use. Follow these steps to ensure a smooth transition from cleaning mode to brewing mode.
Reassemble all the components
Carefully reassemble all the components back into their respective places. This includes the brew group, milk frother, grinder parts, water reservoir, and drip tray. Ensure that everything is securely in place before moving on to the next step.
Pour fresh water into the tank
Refill the water tank with fresh water. It is important to use clean, filtered water to ensure the best taste and quality for your espresso. Fill the tank to the recommended level, taking care not to overfill.
Run a test cycle
Before brewing your first cup of espresso, run a test cycle to ensure that everything is working properly. Following the manufacturer’s instructions, initiate a brewing cycle without adding any coffee grounds. This will help flush out any remaining cleaning solution or residue from the internal components.
Discard the first few shots of espresso
After running the test cycle, it is recommended to discard the first few shots of espresso. This ensures that any lingering cleaning solution or residue is completely flushed out of the machine. Once you have discarded the initial shots, your machine is now ready to brew fresh, delicious espresso.
In conclusion, cleaning and maintaining the internal components of your super-automatic espresso machine is essential for optimal performance and longevity. By following the steps outlined in this article, you can effectively descale and clean the various components of your machine, ensuring that every cup of espresso you brew is of the highest quality. Remember to follow the manufacturer’s instructions, establish a regular maintenance schedule, and replace any worn-out parts to keep your machine running smoothly for years to come. Happy brewing!