Have you ever found yourself perplexed by your siphon coffee maker? Well, fear not, as this article aims to shed light on some of the most common troubleshooting issues that you might encounter with these intricate brewing devices. From leaks and clogs to temperature inconsistencies, we’ll walk you through each problem and provide simple yet effective solutions to ensure you can continue brewing that perfect cup of coffee with ease. So, let’s dive into the world of siphon coffee makers and unravel the mysteries behind their common hiccups!
No Water Flow
If you find that your siphon coffee maker is not producing any water flow, there are a few things you can check to troubleshoot the issue. First, check for a blocked tube. Sometimes, debris or coffee grounds can get lodged in the tube, preventing the flow of water. Gently remove the tube and inspect it for any blockages. If you find any, use a small brush or pipe cleaner to clear the obstruction.
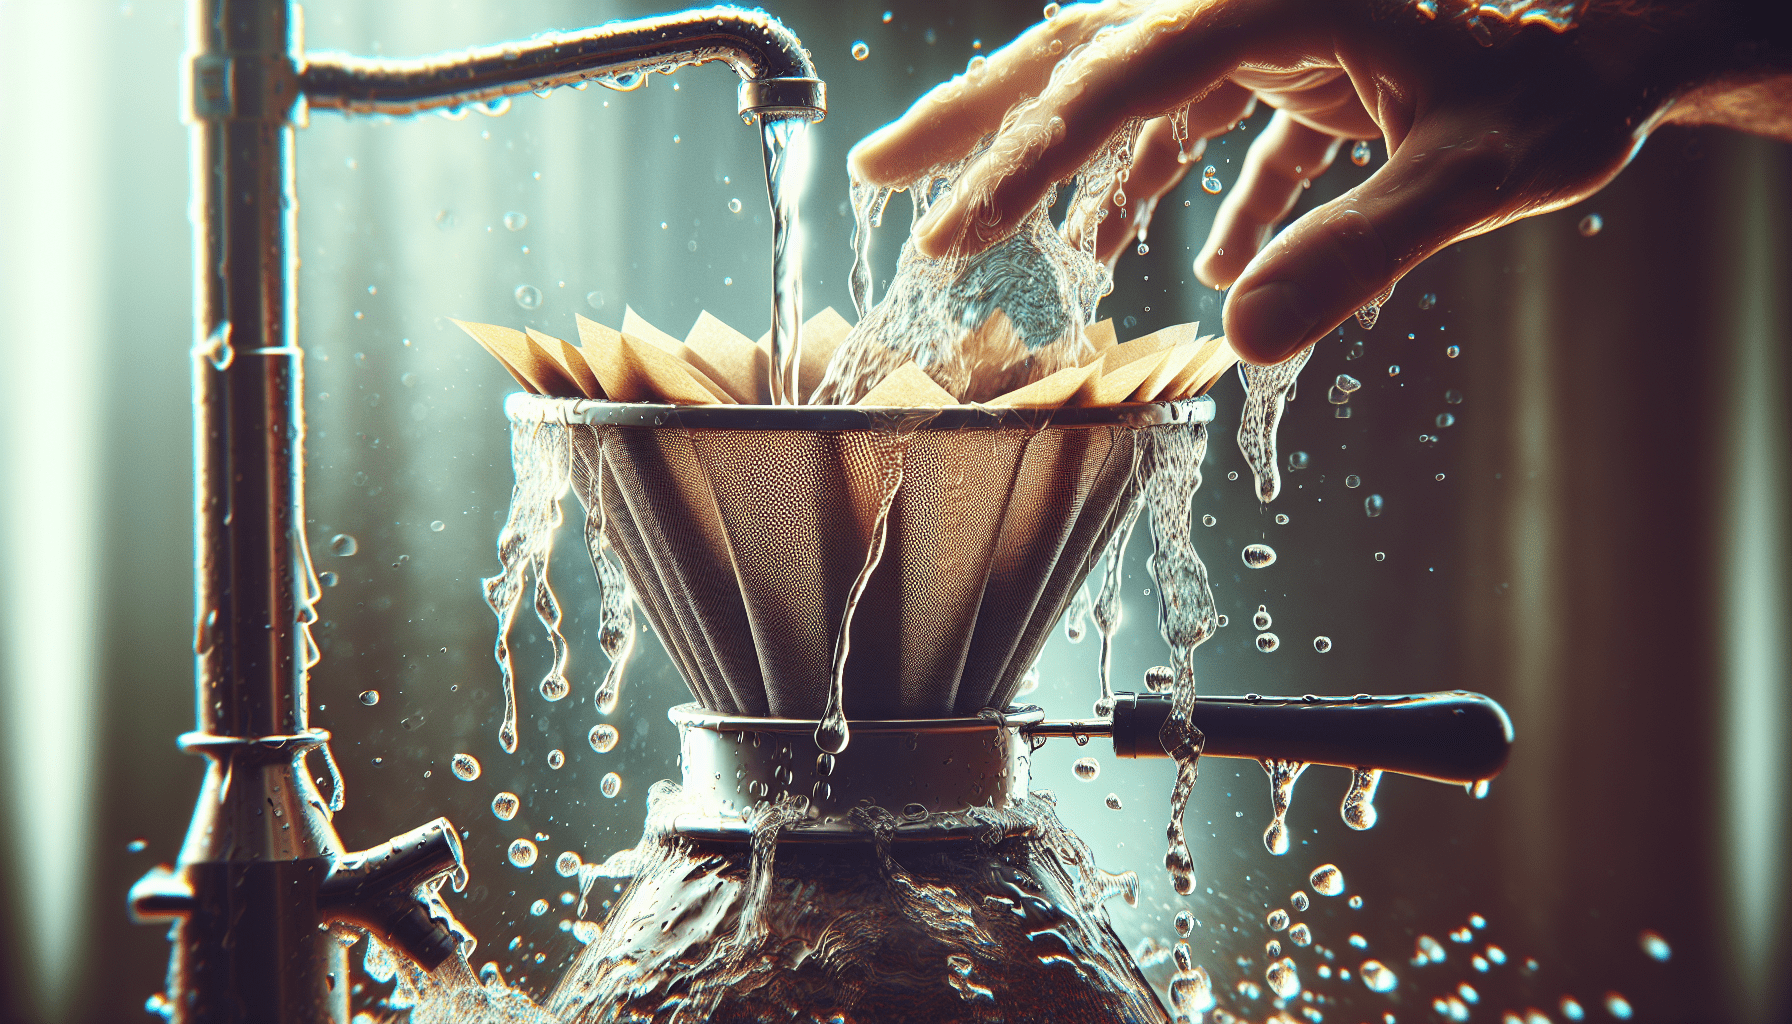
Another common cause of no water flow is a dirty filter. Over time, mineral deposits and coffee oils can build up on the filter, restricting the water flow. To clean the filter, remove it from the brewer and rinse it under running water. If the deposits are stubborn, you can soak the filter in a mixture of water and vinegar to dissolve them. Once the filter is clean, thoroughly rinse it before reinserting it into the brewer.
Lastly, make sure that the water temperature is hot enough. Siphon coffee makers depend on heat to create the pressure difference that drives the water flow. If the water is not hot enough, it may not create sufficient pressure to push the water through the brewer. Check the manufacturer’s instructions for the recommended water temperature range and make sure your siphon coffee maker is within that range.
Leaks or Drips
If you notice leaks or drips coming from your siphon coffee maker, there are a few areas you can check to resolve the issue. First, inspect the seals around the different components of the brewer. Over time, these seals can become loose or worn out, causing leaks. Tighten any loose seals to ensure a proper fit and replace any damaged seals if necessary.
Another common culprit of leaks is the O-ring. The O-ring is a small rubber ring that forms a seal between the upper and lower chambers of the siphon coffee maker. If this ring becomes worn or damaged, it can cause leaks. To replace the O-ring, carefully remove the upper chamber from the lower chamber and locate the O-ring. Remove the old O-ring and replace it with a new one of the same size and shape. Insert the upper chamber back onto the lower chamber, ensuring a tight seal.
Additionally, leaks can occur if the plunger is not clean or properly lubricated. The plunger is responsible for creating the vacuum in the lower chamber, which forces the brewed coffee to transfer to the upper chamber. Remove the plunger and clean it thoroughly, removing any debris or coffee grounds. After cleaning, lubricate the plunger with food-grade lubricant or a small amount of vegetable oil to ensure smooth movement and prevent leaks.
Coffee Grounds in Brew
Finding coffee grounds in your brewed coffee can be frustrating. To prevent this issue, start by adjusting the grind size of your coffee. If the grind is too fine, it can pass through the filter, resulting in grounds in the brew. Experiment with different grind sizes to find the one that works best for your siphon coffee maker.
Another factor to consider is the filter itself. If the filter is old or damaged, it may not effectively trap the coffee grounds. Inspect the filter for any holes or tears and replace it if necessary. Additionally, regularly cleaning the filter will help prevent any buildup of coffee oils or residue that can affect its performance.
Lastly, ensure that the sealing between the upper and lower chambers is tight. If there are any gaps or leaks in the sealing, coffee grounds can escape into the brew. Check the seals and the O-ring for any signs of wear or damage, and replace them if needed. Maintaining a proper seal will help to keep the coffee grounds where they belong – in the filter.
Weak Coffee Flavor
If you find that your siphon coffee maker is producing weak coffee, there are a few steps you can take to enhance the flavor. First, consider increasing the brewing time. The longer the water and coffee grounds are in contact, the more flavor compounds will be extracted. Experiment with slightly extending the brewing time to see if it improves the strength of the coffee.
The quality of the coffee beans you use also plays a significant role in the flavor of your brewed coffee. Make sure you are using freshly roasted coffee beans that are within their optimum freshness period. Stale or old coffee beans can result in a lackluster brew. Consider purchasing whole bean coffee and grinding it just before brewing for the freshest taste.
Additionally, monitor the water temperature during brewing. If the water is not hot enough, it may not extract enough flavor from the coffee grounds. Check the manufacturer’s instructions for the recommended water temperature range and make sure your siphon coffee maker meets those guidelines. Adjusting the water temperature within the specified range can help to improve the flavor intensity of your brew.
Over-Extraction or Bitter Taste
If your siphon coffee maker is producing coffee that is over-extracted or has a bitter taste, there are a few adjustments you can make to rectify the issue. First, try shortening the brew time. Over-extraction occurs when the coffee beans are in contact with hot water for too long, releasing undesirable flavors. Experiment with reducing the brewing time to find the sweet spot where the flavors are balanced.
The grind size and coffee-to-water ratio can also affect the extraction process. If the grind size is too fine or the coffee-to-water ratio is too high, it can result in over-extraction and bitterness. Adjusting these parameters can help achieve a better extraction. If the coffee tastes bitter, try using a coarser grind size and reducing the amount of coffee used per volume of water. Finding the right balance will help to eliminate the bitter taste and enhance the overall flavor profile.
Using coarser coffee grounds can also aid in reducing over-extraction. Fine grounds have a larger surface area, which increases the extraction rate. By using coarser grounds, you can slow down the extraction process and achieve a smoother, less bitter taste. Experiment with different grind sizes to find the one that produces the desired flavor profile.
Inconsistent Brew Temperature
Inconsistent brew temperature can be a common issue with siphon coffee makers, but there are a few things you can do to address this problem. First, check the burner flame. If the flame is weak or uneven, it may not provide consistent heat to the bottom chamber of the siphon coffee maker. Adjust the flame as necessary to ensure a steady, even heat.
Preheating the siphon coffee maker before brewing can also help maintain a more consistent brew temperature. Before adding the coffee grounds and water, fill the bottom chamber with hot water and let it sit for a few minutes. This will warm up the glass and help to stabilize the brewing temperature.
Another way to address inconsistent brew temperature is to insulate the brew chamber. Using a cozy or wrapping a towel around the upper chamber can help retain heat during the brewing process. This insulation prevents heat loss and promotes a more even brew temperature, resulting in a consistent flavor profile.
Difficult Assembly and Disassembly
If you find that your siphon coffee maker is challenging to assemble or disassemble, there are a few steps you can take to make the process smoother. Properly aligning the brew chamber is crucial for a seamless assembly. Make sure the upper chamber is correctly aligned with the lower chamber before attempting to connect them. A misalignment can cause resistance and make the assembly or disassembly difficult.
Lubricating gaskets can also help facilitate the assembly and disassembly process. Over time, gaskets can dry out and become stiff, making them harder to work with. Apply a small amount of food-grade lubricant or vegetable oil to the gaskets to make them more pliable and easier to manipulate.
Regular cleaning and maintenance are essential for smooth assembly and disassembly of your siphon coffee maker. Coffee oils and residue can build up over time and create obstacles in the brewing process. Clean all the components regularly, paying attention to the filters, seals, and plungers. Removing any accumulated debris will ensure that the parts fit together smoothly, making the assembly and disassembly effortless.
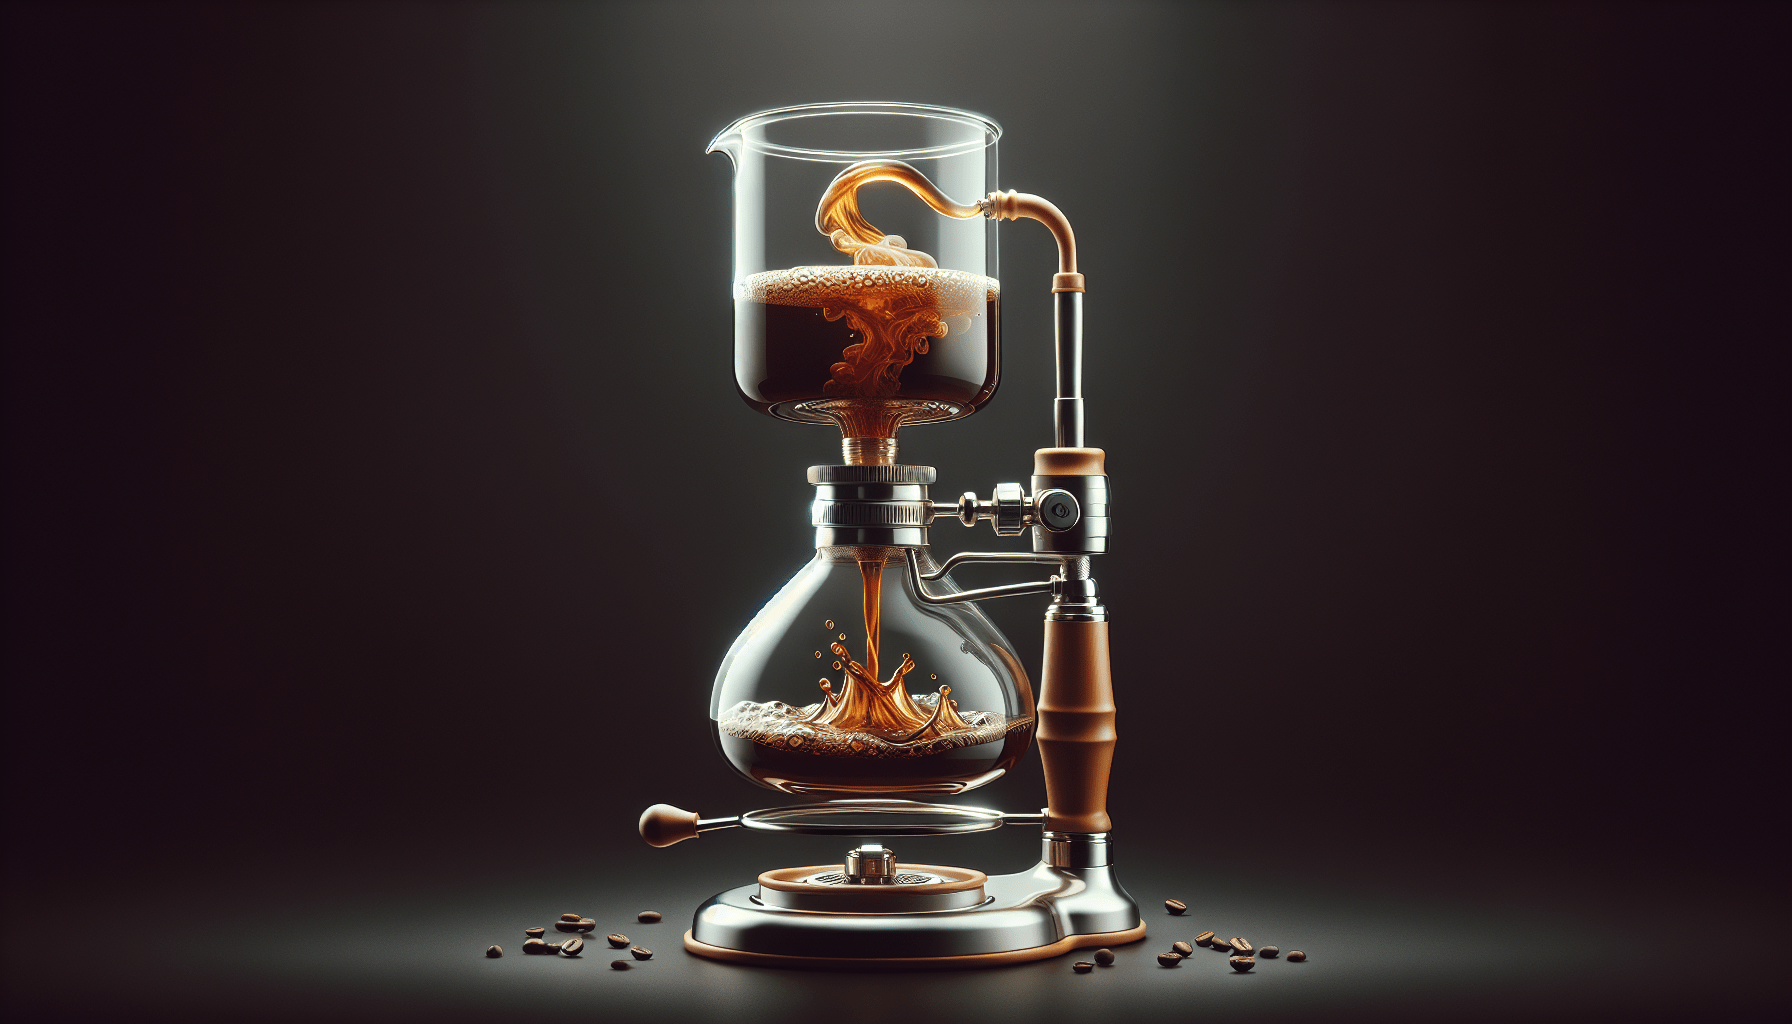
Vacuum Loss During Brewing
If you experience vacuum loss during the brewing process, there are a few steps you can take to address the issue. First, ensure that there is a proper seal between the upper and lower chambers. Check the seals and the O-ring for any signs of wear or damage, as these can compromise the vacuum seal. Replace any faulty seals or the O-ring if necessary.
Gaskets play a vital role in maintaining the seal and creating the vacuum in the lower chamber. Inspect the gaskets for any signs of wear or drying out. Over time, gaskets can become stiff, making it harder for them to create an airtight seal. If the gaskets are worn or dry, replace them with new ones of the appropriate size and shape.
Regular cleaning and lubrication of the plunger can also help prevent vacuum loss. The plunger is responsible for creating the pressure difference that drives the brewing process. If the plunger is not clean or properly lubricated, it may not function optimally, resulting in vacuum loss. Clean the plunger thoroughly, removing any debris or coffee grounds, and lubricate it with food-grade lubricant or a small amount of vegetable oil to ensure smooth movement and a tight vacuum seal.
Excessive Sediment in Brew
To minimize or eliminate excessive sediment in your brewed coffee, there are a few steps you can take. Using filter paper or a cloth filter can help trap fine particles and prevent them from ending up in your brew. Place the filter paper or cloth filter on top of the filter assembly, ensuring that it covers the entire surface. This will act as an additional barrier, preventing sediment from passing through.
Floating coffee grounds can also contribute to excessive sediment in the brew. Before brewing, gently stir the coffee grounds to ensure they are evenly distributed and not forming clumps. This will help prevent them from floating to the top and escaping into the upper chamber. Taking this small step can significantly reduce the amount of sediment in your final cup of coffee.
Avoid agitating the brew unnecessarily. Excessive stirring or shaking can disturb the settled grounds and lead to more sediment. Once the brewing process is complete, handle the siphon coffee maker gently and avoid unnecessary movement to prevent sediment from being disturbed.
Inadequate Sealing of Brew Chamber
If you notice inadequate sealing of the brew chamber, there are a few areas to check for potential issues. First, inspect the gaskets and seals around the brew chamber. Over time, these components can wear out or become damaged, compromising the sealing. Check for any signs of wear or tears and replace the gaskets or seals if necessary.
Cleaning and lubricating the plunger can also help improve the sealing of the brew chamber. The plunger plays a crucial role in creating the pressure difference that moves the liquid between the chambers. If the plunger is not clean or properly lubricated, it may not create an airtight seal, leading to inadequate sealing. Thoroughly clean the plunger, removing any debris, and lubricate it with food-grade lubricant or a small amount of vegetable oil to ensure smooth movement and a tight seal.
When using the siphon coffee maker, apply pressure evenly and gradually. Uneven pressure can cause gaps in the seal and result in inadequate sealing. Pay attention to how you apply pressure during the brewing process, ensuring that it is consistent and evenly distributed to maintain a proper seal.