Let’s dive into the world of coffee grinder maintenance! Keeping your machine clean is essential for maintaining its performance and ensuring the quality of your grind. In this article, we’ll explore just how easy it is to disassemble and clean a coffee grinder machine. From removing the hopper and burrs to cleaning with brushes and rice, you’ll learn the simple steps to keep your grinder running smoothly and your coffee tasting fresh. Get ready to tackle the task with confidence and keep your morning brew at its best!
“How Easy Is It To Disassemble And Clean A Coffee Grinder Machine?”
As a coffee enthusiast, you understand the importance of keeping your coffee grinder clean to maintain the quality and taste of your coffee. However, the thought of disassembling and cleaning your coffee grinder machine may seem intimidating. In this article, we will guide you through the process step by step to show you just how easy it is to disassemble and clean a coffee grinder machine.
Understanding the Importance of Cleaning Your Coffee Grinder
Before we dive into the steps of disassembling and cleaning your coffee grinder machine, let’s first understand why it is crucial to keep it clean. A dirty coffee grinder can affect the taste of your coffee, as old coffee grounds can become rancid, stale, and bitter. Additionally, a buildup of oils from coffee beans can lead to clogs and affect the grinder’s performance. Regular cleaning ensures that your coffee grinder operates efficiently and produces fresh, flavorful coffee grounds.
Tools You Will Need
To begin the disassembly and cleaning process, you will need a few basic tools. Having the right tools on hand will make the task easier and more efficient. Here is a list of tools you will need:
- Screwdriver
- Brush with soft bristles
- Dish soap
- Water
- Soft cloth or paper towel
Having these tools readily available will help you effectively clean your coffee grinder machine without any hassle.
Step-by-Step Guide to Disassemble and Clean Your Coffee Grinder Machine
Now that you have gathered the necessary tools, let’s walk through the step-by-step process of disassembling and cleaning your coffee grinder machine. Follow these instructions carefully to ensure a thorough and effective cleaning.
Step 1: Unplug Your Coffee Grinder Machine
Before you begin disassembling your coffee grinder machine, always remember to unplug it from the power source. Safety should always be a top priority when working with electrical appliances.
Step 2: Remove the Hopper and Bean Container
Start by removing the hopper and bean container from your coffee grinder machine. These components are usually the easiest to detach and clean separately. Empty any remaining coffee beans from the hopper and container.
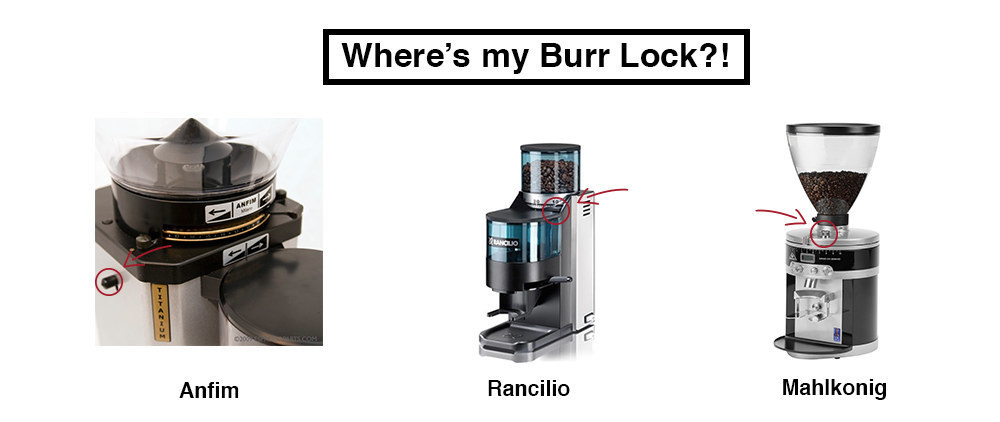
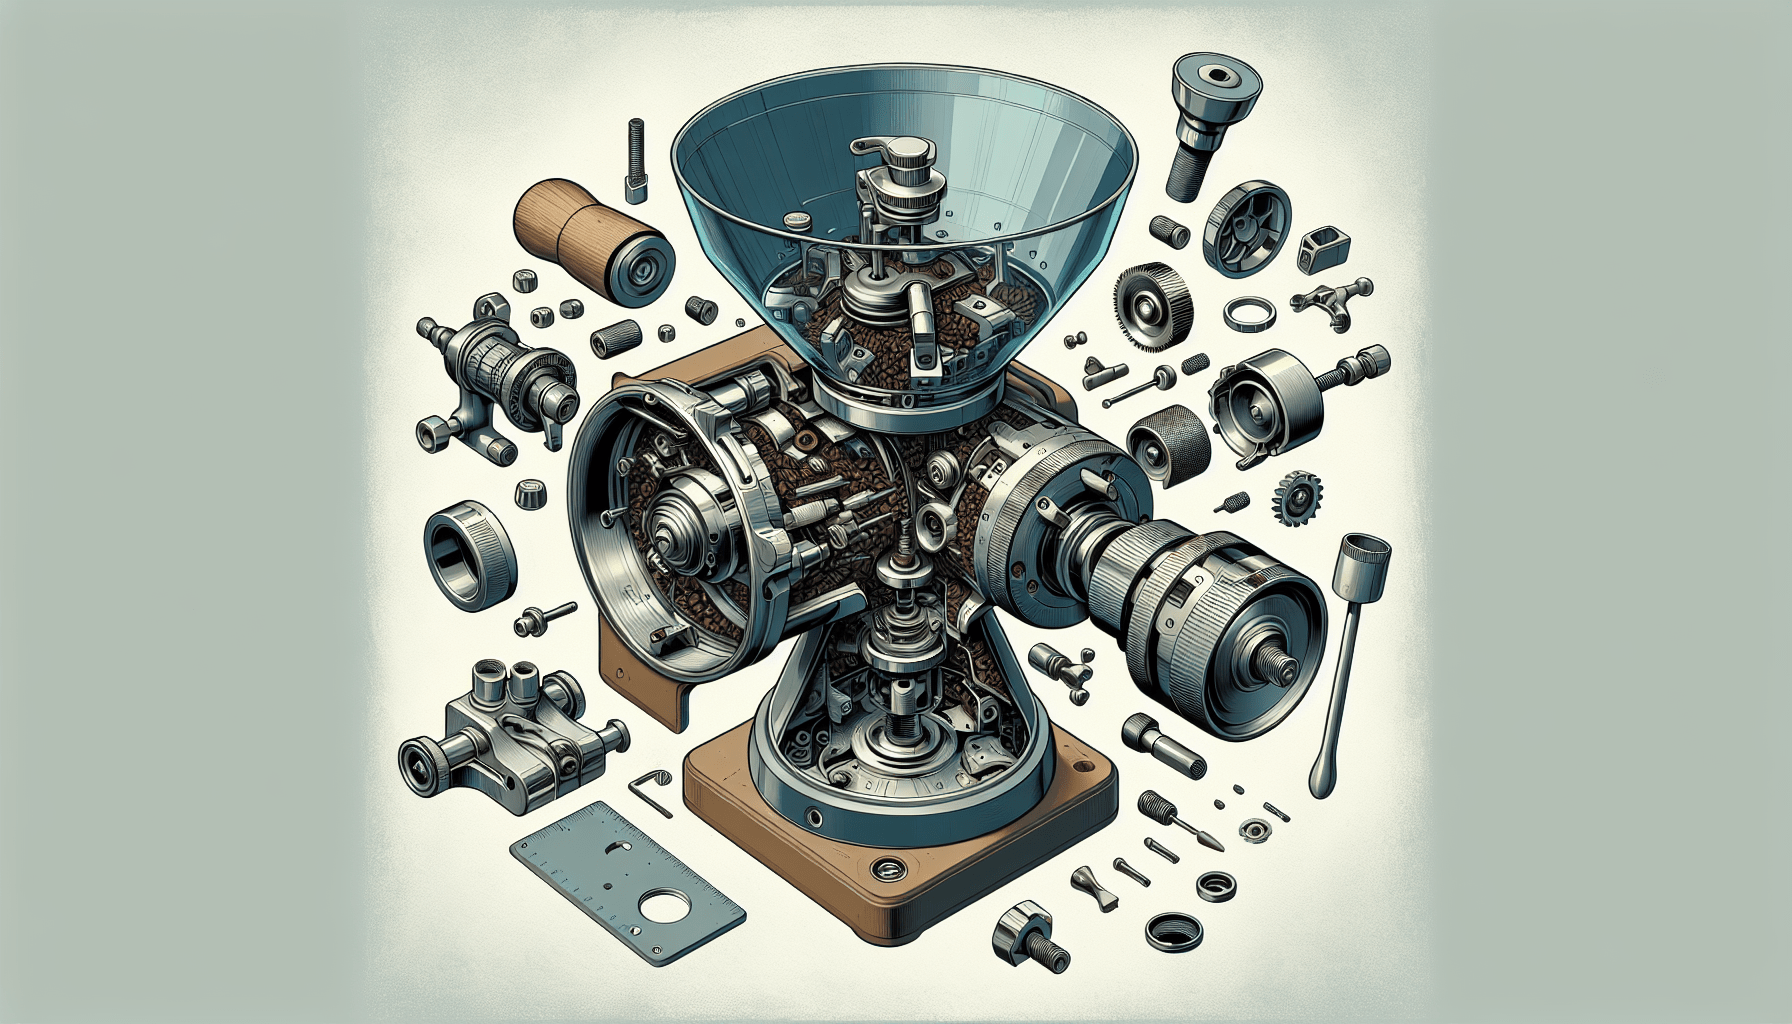
Step 3: Disassemble the Grinder Burrs
Next, you will need to access the grinder burrs, which are responsible for grinding the coffee beans. Refer to your coffee grinder’s user manual to understand how to safely disassemble the grinder burrs. Use a screwdriver to remove any screws or bolts that hold the burrs in place.
Step 4: Clean the Grinder Burrs
Once you have removed the grinder burrs, use a brush with soft bristles to clean any residual coffee grounds and oils. Be gentle when cleaning the burrs to avoid damaging them. You can also soak the burrs in a solution of dish soap and water to remove stubborn buildup.
Step 5: Clean the Hopper and Bean Container
While the grinder burrs are soaking, take the time to clean the hopper and bean container. Wash them with warm, soapy water and rinse thoroughly to remove any coffee residue. Dry them with a soft cloth or paper towel before reassembling.
Step 6: Reassemble Your Coffee Grinder Machine
Once all the components are clean and dry, it’s time to reassemble your coffee grinder machine. Follow the reverse order of the disassembly process to put everything back together. Make sure all parts are securely attached before plugging the machine back in.
Maintenance Tips for Keeping Your Coffee Grinder Clean
Now that you have successfully disassembled and cleaned your coffee grinder machine, here are some maintenance tips to help you keep it clean and operating smoothly:
- Regularly clean the hopper and bean container to prevent the buildup of coffee oils and residue.
- Wipe down the exterior of your coffee grinder machine with a damp cloth to remove any dust or grime.
- Use a brush with soft bristles to clean the grinder burrs between deep cleanings.
- Avoid using harsh chemicals or abrasive materials when cleaning your coffee grinder machine to prevent damage.
By following these maintenance tips, you can prolong the life of your coffee grinder machine and enjoy fresh, flavorful coffee every time you brew.
Conclusion
In conclusion, cleaning your coffee grinder machine is a simple and essential task that ensures the quality and taste of your coffee. By following the step-by-step guide provided in this article and implementing regular maintenance tips, you can keep your coffee grinder clean and operating efficiently. Remember to always refer to your coffee grinder’s user manual for specific instructions on disassembly and cleaning. With a clean coffee grinder, you can brew delicious coffee that will delight your senses every morning.