You’re a coffee lover who just bought a new drip coffee maker. As you eagerly unpack it, you start wondering how to program it to have a fresh cup ready for you every morning. Look no further! In this article, we will guide you through the simple steps of programming a drip coffee maker, ensuring that your mornings are filled with the delightful aroma of freshly brewed coffee. So grab your favorite mug, and let’s get started!
Check the User Manual
Before programming your drip coffee maker, it’s essential to read the user manual thoroughly. The manual contains detailed instructions and information specific to your coffee maker model. Make sure you understand the basic functions and features of the machine before proceeding to set it up.
Read the instructions
Take the time to carefully read through the instructions provided in the user manual. Pay close attention to the sections on programming and setting up the various features of the coffee maker. Familiarize yourself with the terminology used and make note of any specific steps or precautions mentioned.
Locate the specific section on programming
Once you have a good understanding of the coffee maker’s functions, locate the section in the user manual that specifically covers the programming of the machine. This section will guide you through the step-by-step process of setting up and programming the different features.
Understand the Coffee Maker Controls
To effectively program your drip coffee maker, it’s essential to understand the various controls and buttons on the machine. Different models may have different layouts, so it’s crucial to identify the buttons and display on your specific coffee maker.
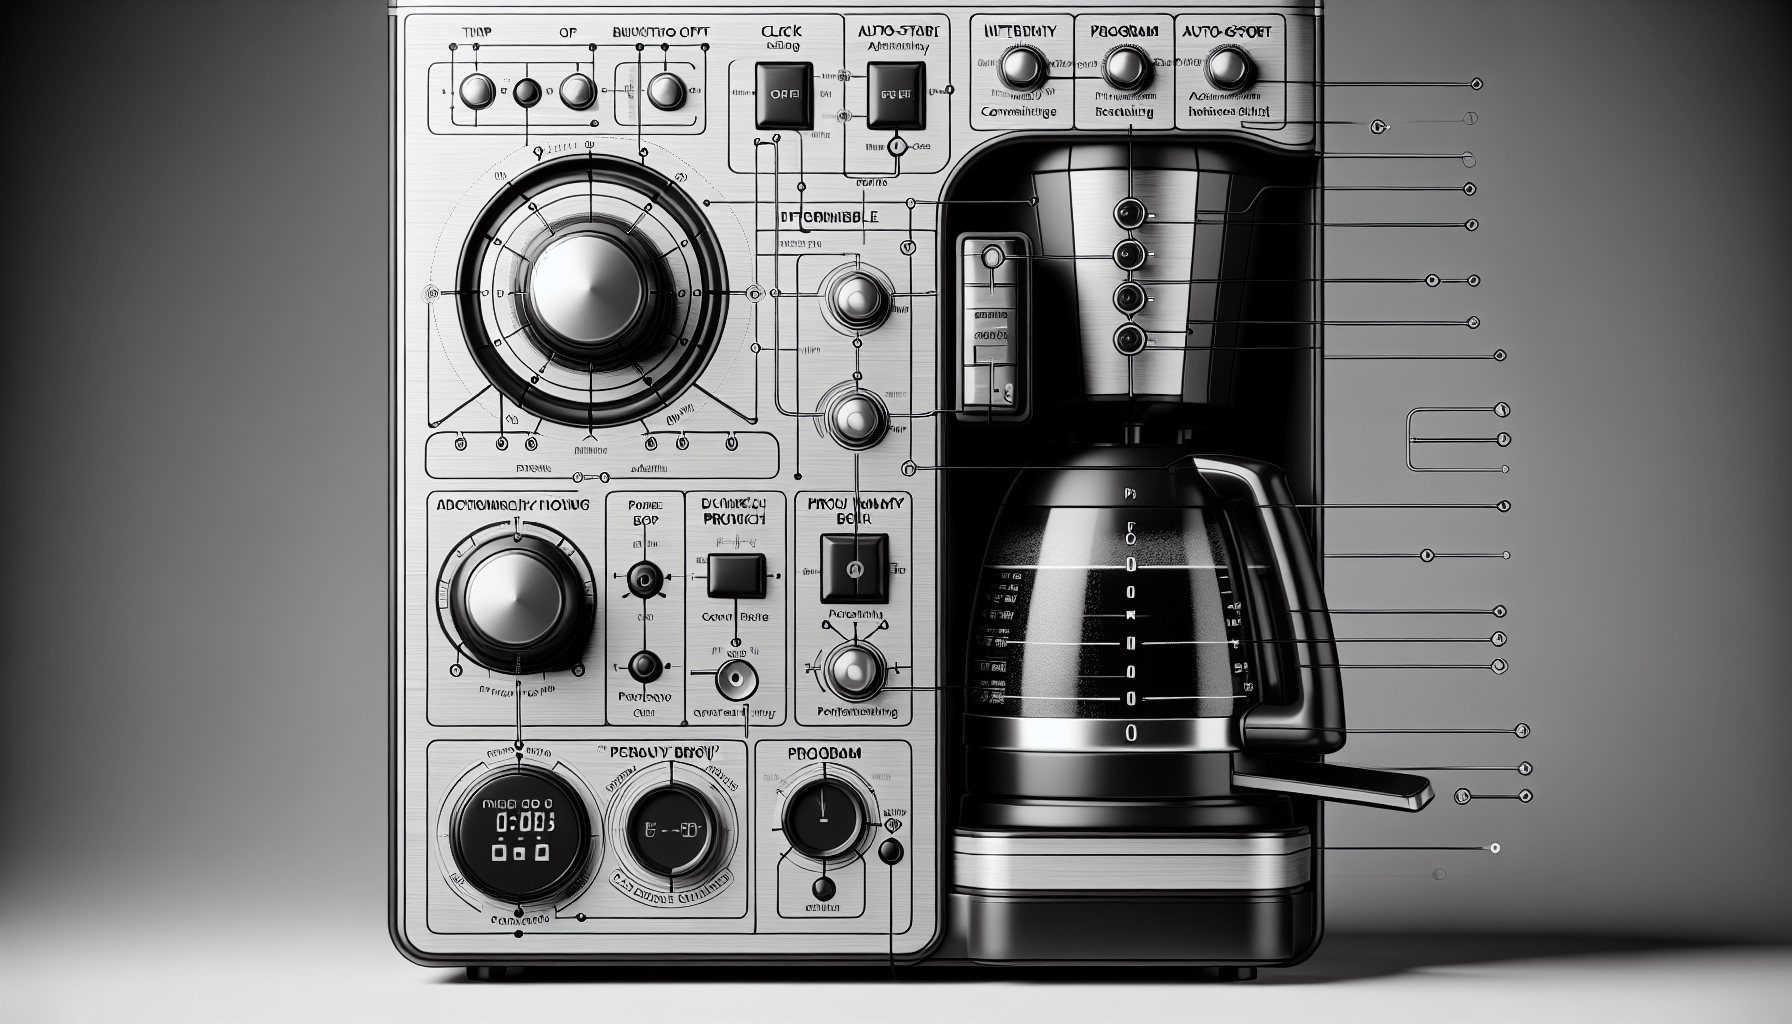
Identify the buttons and display on the coffee maker
Take a close look at the control panel of your coffee maker and identify the various buttons and the display. Common buttons you may find include a clock button, brewing strength button, program/auto start button, and auto shut-off button. Familiarize yourself with the location of these buttons on your machine.
Learn the purpose of each button
Once you’ve identified the buttons, it’s important to learn the purpose of each one. The clock button is used to set the time on the coffee maker, the brewing strength button allows you to choose the desired strength level, the program/auto start button is used for programming the automatic brewing, and the auto shut-off button helps set the duration after which the coffee maker should turn off automatically.
Set the Clock
Setting the correct time on your coffee maker is crucial for accurate programming and brewing. Follow these steps to set the clock on your machine:
Press the clock button
Locate the clock button on your coffee maker’s control panel. Press the button to initiate the clock-setting mode.
Use the hour and minute buttons to set the correct time
Once you’re in the clock-setting mode, use the hour and minute buttons to adjust the time accordingly. Pay attention to the display to ensure that the time is being set correctly.
Press the clock button again to confirm
Once you’ve set the correct time, press the clock button once again to confirm the settings. The display should now show the current time, indicating that the clock has been successfully set.
Select the Brewing Strength
Every coffee lover has their preferred brewing strength, whether it’s mild, medium, or strong. Your drip coffee maker is designed to cater to your personal taste preferences. Here’s how you can select the desired brewing strength:
Determine the desired strength level (e.g., mild, medium, strong)
Before adjusting the brewing strength, decide on the level of strength you desire. Are you in the mood for a milder cup of coffee or a stronger, bolder brew? This decision will guide you in selecting the appropriate brewing strength option.
Press the brewing strength button to cycle through the options
Locate the brewing strength button on your coffee maker’s control panel. Press the button to cycle through the available options, such as mild, medium, and strong. Pay attention to the display to ensure you’re on the desired strength option.
Stop when the desired strength is displayed
Once you reach the desired brewing strength on the display, simply stop pressing the brewing strength button. The coffee maker will now be set to brew your coffee at the chosen strength level.
Program the Auto Start
One of the convenient features of a drip coffee maker is the ability to program an automatic start time. This means you can wake up to the delightful aroma of freshly brewed coffee each morning. Here’s how you can program the auto start function:
Determine the desired time you want the coffee maker to start brewing
Think about the time you typically wake up or the time when you desire your coffee to be ready. This will be the desired time you’ll program the coffee maker to start brewing.
Press the program/auto start button
Locate the program/auto start button on your coffee maker’s control panel. Press the button to initiate the programming mode for the auto start function.
Use the hour and minute buttons to set the desired time
While in the programming mode, use the hour and minute buttons to adjust the time to your desired start time. Take note of the display to ensure the correct time is being set.
Press the program/auto start button again to confirm
Once you’ve set the desired start time, press the program/auto start button once again to confirm the programming. The display should now indicate the programmed auto start time.
Set the Auto Shut-Off
If you often find yourself rushing out of the house and forgetting to turn off the coffee maker, the auto shut-off feature will be your savior. Here’s how you can set the auto shut-off duration on your drip coffee maker:
Decide the duration after which the coffee maker should automatically turn off
Consider how long you typically need the coffee maker to stay on after brewing. This can vary depending on your needs and preferences. Decide on the desired duration for the auto shut-off function.
Press the auto shut-off button
Locate the auto shut-off button on your coffee maker’s control panel. Press the button to enter the auto shut-off programming mode.
Use the hour and minute buttons to set the desired duration
While in the programming mode, use the hour and minute buttons to adjust the duration for the auto shut-off function. Pay attention to the display to ensure the correct duration is being set.
Press the auto shut-off button again to confirm
Once you’ve set the desired duration, press the auto shut-off button once again to confirm the programming. The display should now show the programmed auto shut-off duration.
Verify the Programmed Settings
After programming the clock, brewing strength, auto start, and auto shut-off, it’s essential to double-check the programmed settings to ensure they are correctly set. Here’s what you need to do:
Review the programmed settings on the display
Take a moment to review the display of your coffee maker. Ensure that the clock reflects the correct time, the brewing strength is set to your preference, and the programmed auto start and auto shut-off times are as desired. This step will help you spot any potential errors or discrepancies in the settings.
Ensure the clock, brewing strength, auto start, and auto shut-off are correctly set
If everything is in order and matches your desired settings, then congratulations! You have successfully programmed your drip coffee maker. Enjoy the convenience and flavorful cups of coffee that await you. However, if any of the settings need adjustment or correction, proceed to the next step.
Make Adjustments as Needed
In case you realize that any of the programmed settings need to be changed, don’t worry. The process is straightforward. Simply follow the respective programming steps mentioned above, depending on which setting requires adjustment. This could involve setting the clock, changing the brewing strength, reprogramming the auto start time, or modifying the auto shut-off duration.
If any setting needs to be changed, repeat the respective programming steps
Refer back to the instructions for the specific setting you wish to change. Repeat the steps outlined earlier for that particular function. By following the instructions closely, you can easily modify the settings to match your preferences.
To cancel or disable a previously set program, refer to the user manual
If you need to cancel or disable a previously set program entirely, such as the auto start or auto shut-off, refer to the user manual. The steps for cancelling or disabling specific programs may vary depending on your coffee maker’s model. The manual will provide you with clear instructions on how to perform this action.
Prepare the Coffee Maker for Use
Now that you have programmed your coffee maker to your desired settings, it’s time to prepare it for use. Follow these simple steps to get your coffee maker ready:
Fill the water reservoir with the desired amount of water
Before brewing, make sure the water reservoir is adequately filled with the amount of water you desire. Be cautious not to overflow the reservoir, as this can lead to spillages and affect the brewing process.
Add coffee grounds to the filter basket
Measure the desired amount of coffee grounds and add them to the filter basket of your coffee maker. The recommended coffee-to-water ratio can vary depending on your personal taste, so adjust accordingly.
Place the carafe on the heating plate
Ensure that the carafe is securely in place on the heating plate of the coffee maker. This will allow the brewed coffee to collect in the carafe once the brewing process begins.
Start the Brewing Process
You’re now ready to kick-start the brewing process and enjoy a delicious cup of coffee. Follow these final steps:
Power on the coffee maker
Locate the power button on your coffee maker and turn it on. This will initiate the brewing process and allow the water to heat up.
Ensure all programmed settings are still displayed
Once the coffee maker is powered on, check that all your programmed settings are still displayed correctly on the control panel. This step reassures you that the settings have been successfully saved and will be taken into account during the brewing process.
Press the brew button to begin the brewing process
Finally, locate the brew button on your coffee maker’s control panel and press it. This will start the brewing process, allowing hot water to flow through the coffee grounds and into the carafe. Sit back, relax, and enjoy the delightful aroma of freshly brewed coffee.
In conclusion, programming a drip coffee maker involves a series of simple steps that can enhance your coffee brewing experience. By understanding the user manual, familiarizing yourself with the controls, and setting the clock, brewing strength, auto start, and auto shut-off, you can create a customized brewing experience tailored to your preferences. Remember to double-check the programmed settings, make any necessary adjustments, and prepare the coffee maker accordingly before starting the brewing process. With these programming tips, you can wake up to the perfect cup of coffee every morning. Happy brewing!