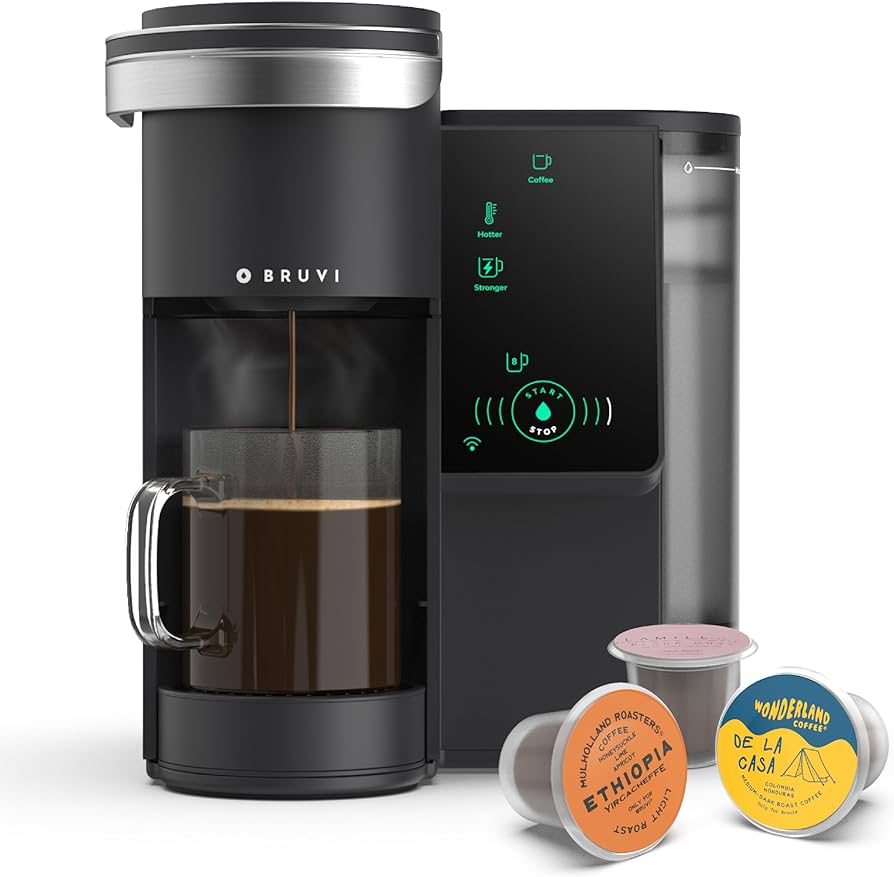

So, you’ve invested in a convenient single-serve coffee maker and you’re enjoying your daily dose of caffeine right at home. But have you ever wondered how to keep your coffee maker clean to ensure a consistently great-tasting brew? Maintaining the cleanliness of your single-serve coffee maker is essential for both the longevity of the machine and the quality of your coffee. In this article, we will walk you through the simple and effective steps to clean your single-serve coffee maker, ensuring a fresh and enjoyable cup of joe every time.
Cleaning Accessories
When it comes to cleaning your single-serve coffee maker, having the right cleaning accessories is essential to ensure a thorough and effective cleaning process. Here are some of the must-have cleaning accessories that will make your coffee maker cleaning routine a breeze.
Cleaning Solution
A good cleaning solution is vital for maintaining the cleanliness and performance of your coffee maker. There are various commercial cleaning solutions available on the market specifically designed for coffee makers. These cleaning solutions are formulated to remove coffee oils, residue, and mineral deposits that can build up over time. It is important to follow the manufacturer’s instructions on the cleaning solution to ensure proper usage.
White Vinegar
White vinegar is a versatile and inexpensive cleaning agent that is commonly used for cleaning coffee makers. Its acidic nature helps dissolve and remove mineral deposits, scale, and other buildup that can affect the taste and performance of your coffee maker. To use white vinegar for cleaning, simply mix equal parts of vinegar and water and follow the specific cleaning steps outlined in this article.
Baking Soda
Baking soda is another effective and natural cleaning agent that can be used for cleaning your single-serve coffee maker. Its mild alkaline properties help to break down stains, residue, and odors. To use baking soda for cleaning, mix a small amount of baking soda with water to form a paste-like consistency. Apply the paste to the areas that need cleaning, scrub gently, and rinse thoroughly.
Microfiber Cloth
A microfiber cloth is a handy tool to have for wiping down the exterior surfaces of your coffee maker. Microfiber cloths are known for their ability to attract and capture dust particles and other residues without scratching or leaving streaks. They are soft, absorbent, and easy to clean, making them an ideal choice for maintaining the cleanliness of your coffee maker.
Cleaning the Water Reservoir
The water reservoir is a crucial component of your single-serve coffee maker, as it houses the water used for brewing coffee. Cleaning the water reservoir regularly is important to prevent the buildup of scale, mineral deposits, and bacteria. Here are the steps to clean the water reservoir effectively.
Remove and Empty the Water Reservoir
First, make sure to turn off and unplug your coffee maker. Carefully remove the water reservoir from the machine. Empty any remaining water from the reservoir into the sink or drain. Place the reservoir aside for thorough cleaning.
Wash with Warm Soapy Water
Prepare a solution of warm water and a mild dish soap or use a cleaning solution specifically designed for coffee makers. Dip a clean cloth or sponge into the soapy water and gently wipe the inner and outer surfaces of the water reservoir. Pay attention to any corners or crevices where residue may accumulate.
Rinse Thoroughly
After washing, rinse the water reservoir under running water to remove any soap or cleaning solution residue. Ensure that all soap is thoroughly rinsed off to avoid any potential flavor transfer to your next brew. Once rinsed, leave the water reservoir to air dry completely before reattaching it to the coffee maker.
Cleaning the Brew Basket
The brew basket is where you place the coffee grounds or coffee pods for brewing. Over time, coffee particles and oils can accumulate in the brew basket, affecting the taste and quality of your coffee. Here’s how to clean the brew basket effectively.
Remove the Brew Basket
Start by turning off and unplugging your coffee maker. Locate the brew basket and carefully remove it from the machine. Empty any remaining coffee grounds or coffee pods and discard them.
Wash with Warm Soapy Water
Fill a sink or basin with warm water and add a small amount of dish soap. Place the brew basket in the soapy water and use a sponge or cloth to scrub away any coffee residue and oils. Pay special attention to the mesh screen, ensuring it is thoroughly cleaned.
Use a Brush to Remove Coffee Grounds
If there are stubborn coffee grounds stuck in the mesh screen or other parts of the brew basket, use a brush with soft bristles or a toothbrush to gently scrub and remove them. Be mindful not to damage the mesh screen or any other delicate parts.
Rinse Thoroughly
After washing and scrubbing, rinse the brew basket under running water to remove any soap or cleaning solution residue. Ensure that all residue is thoroughly rinsed off before drying.
Descaling the Coffee Maker
Over time, mineral deposits and scale can build up in your single-serve coffee maker’s internal components, such as the water reservoir and brewing system. Descaling is a process that removes these mineral deposits and helps restore your coffee maker’s performance and efficiency. Follow these steps to descale your coffee maker effectively.
Prepare the Descaling Solution
Start by consulting the manufacturer’s instructions or your coffee maker’s user manual to determine the appropriate descaling solution to use. Commercial descaling solutions are readily available, or you can make a homemade solution using equal parts of water and white vinegar. Mix the solution in a container, ensuring you have enough to fill the water reservoir.
Fill the Water Reservoir with the Solution
Turn off your coffee maker and unplug it from the power source. Carefully pour the descaling solution into the water reservoir. Make sure to fill it to the recommended level indicated by the manufacturer or your user manual.
Run a Brewing Cycle without a Coffee Pod
Place a cup or mug on the drip tray to catch any liquid. Start a brewing cycle without inserting a coffee pod. This will allow the descaling solution to run through the coffee maker, effectively descaling the internal components.
Run Two Brewing Cycles with Clean Water
After completing the descaling cycle, empty and rinse the water reservoir. Fill it with clean water and run two brewing cycles without a coffee pod to thoroughly flush out any remaining descaling solution or residue. This will ensure that your next cup of coffee is free from any traces of the descaling solution.
Cleaning the Exterior
Keeping the exterior of your single-serve coffee maker clean adds to its overall appearance and longevity. Here’s how to effectively clean the exterior surfaces of your coffee maker.
Wipe the Exterior with a Damp Cloth
Start by unplugging your coffee maker and ensuring it is turned off. Take a damp microfiber cloth and gently wipe down the exterior surfaces of the coffee maker. Pay attention to any areas that may have dirt, fingerprints, or stains.
Use Mild Detergent if Needed
For stubborn stains or residue on the exterior surfaces, you can use a mild detergent or dish soap. Apply a small amount of detergent to the damp cloth and gently scrub the affected areas. Be cautious not to use abrasive cleaners or scrubbing pads that may damage the coffee maker’s finish.
Dry with a Clean Cloth
After cleaning, use a dry and clean microfiber cloth to wipe away any moisture or cleaning solution residue. Make sure the coffee maker is completely dry before plugging it back in or using it.
Cleaning the Drip Tray
The drip tray collects any excess water, coffee, or spills that occur during the brewing process. Regularly cleaning the drip tray prevents the buildup of residue, bacteria, and odors. Follow these steps to clean the drip tray effectively.
Remove the Drip Tray
Depending on your coffee maker model, the drip tray may be removable or non-removable. If it is removable, gently slide it out from beneath the brew basket or water reservoir. If it is non-removable, use a damp cloth or sponge to clean it in place.
Wash with Warm Soapy Water
Prepare warm soapy water or a diluted cleaning solution in a sink or basin. Place the removable drip tray in the soapy water and scrub it with a sponge or cloth to remove any residue or spills. For non-removable drip trays, use a damp cloth or sponge to wipe away any buildup.
Rinse Thoroughly
After washing, rinse the drip tray under running water to remove any soap residue. Ensure that all residue is thoroughly rinsed off before reinstalling the drip tray back into the coffee maker.
Cleaning the Brew Head
The brew head is where the hot water flows through the coffee grounds or coffee pod to extract the flavors and aromas. Cleaning the brew head is crucial to prevent clogs, ensure proper water flow, and maintain the quality of your coffee. Follow these steps to effectively clean the brew head.
Turn Off and Unplug the Coffee Maker
Before cleaning the brew head, make sure your coffee maker is turned off and unplugged. This ensures safety and prevents any accidental brewing or water flow during the cleaning process.
Remove the Brew Head
Locate the brew head on your coffee maker. Depending on the model, it may be detachable or require additional steps to access. Follow the manufacturer’s instructions or refer to your user manual to remove the brew head properly.
Wash with Warm Soapy Water
Prepare warm soapy water or a cleaning solution specifically designed for coffee makers. Dip a sponge or cloth into the soapy water and gently wipe the inner and outer surfaces of the brew head. Pay special attention to any crevices or areas where coffee residue may accumulate.
Use a Brush to Remove Coffee Residue
If there are stubborn coffee residues or buildup on the brew head, use a soft-bristled brush or toothbrush to gently scrub and remove them. Be careful not to apply excessive pressure or damage any delicate parts of the brew head.
Rinse Thoroughly
After cleaning, thoroughly rinse the brew head under running water to remove any soap or cleaning solution residue. Make sure all residue is completely rinsed off before reattaching the brew head to your coffee maker.
Cleaning the Needle
The needle in your single-serve coffee maker punctures the coffee pod, allowing hot water to flow through and extract the flavors. Over time, coffee grounds can get lodged in the needle, affecting water flow and the quality of your brew. Here’s how to clean the needle effectively.
Turn Off and Unplug the Coffee Maker
For safety, make sure your coffee maker is turned off and unplugged before cleaning the needle. This prevents any accidental puncturing or water flow during the cleaning process.
Remove the Pod Holder
Locate the pod holder on your coffee maker and carefully remove it. Depending on the model, you may need to unlock or twist the pod holder to release it from the brew chamber.
Insert a Cleaning Tool into the Needle to Dislodge Coffee Grounds
Use a cleaning tool specifically designed for coffee maker needles or a paperclip unfolded into a straight shape. Gently insert the cleaning tool into the needle, carefully moving it in a back-and-forth motion to dislodge any lodged coffee grounds.
Clean with Warm Soapy Water
After dislodging the coffee grounds, wash the needle with warm soapy water. Dip a sponge or cloth into the soapy water and wipe the needle to remove any remaining residue. Be cautious not to apply excessive force or damage the needle.
Rinse Thoroughly
Once washed, rinse the needle under running water to remove any soap or residue. Ensure that all residue is thoroughly rinsed off before reinstalling the pod holder.
Cleaning the Coffee Pod Holder
The coffee pod holder is where you place the coffee pod before brewing. It can accumulate residue, coffee grounds, and oils over time, affecting the taste of your coffee. Follow these steps to clean the coffee pod holder properly.
Remove the Pod Holder
Start by turning off and unplugging your coffee maker. Locate the pod holder and gently remove it from the coffee maker. Empty any remaining coffee grounds or pods and discard them.
Wash with Warm Soapy Water
Prepare warm soapy water or a diluted coffee maker cleaning solution. Dip a sponge or cloth into the soapy water and scrub the coffee pod holder to remove any residue or stains. Pay attention to the inner and outer surfaces, ensuring a thorough cleaning.
Use a Brush to Remove Residue
If there are stubborn residue or stains on the coffee pod holder, use a soft-bristled brush or toothbrush to scrub them away. Be careful not to damage any delicate parts or the surface of the pod holder.
Rinse Thoroughly
After washing and scrubbing, thoroughly rinse the coffee pod holder under running water to remove any soap or residue. Ensure that all residue is completely rinsed off before drying or reinstalling the pod holder.
Cleaning the Auto-off Function
Many single-serve coffee makers come equipped with an auto-off function, which automatically turns off the machine after a specific period of inactivity. While the auto-off function doesn’t require regular cleaning, it is essential to consult the user manual for specific instructions on cleaning and maintaining this feature. Each coffee maker model may have different requirements, so be sure to follow the recommended cleaning process outlined in your user manual for the best results.
In conclusion, cleaning your single-serve coffee maker is essential for maintaining its performance, taste, and longevity. By following the outlined steps for cleaning various components such as the water reservoir, brew basket, brew head, and drip tray, you can ensure that your coffee maker remains in optimal condition. Regular cleaning, using the right cleaning accessories, and following the manufacturer’s recommendations will help you enjoy delicious cups of coffee every time you brew. Happy cleaning!