Welcome to a guide on adjusting the steam wand for perfect milk textures! In this article, we will explore the art of creating silky smooth froth for your lattes and cappuccinos by adjusting the steam wand on your espresso machine. Whether you prefer a velvety microfoam or a light and airy froth, we will give you tips and tricks to achieve the perfect milk texture every time. So grab your favorite mug and let’s dive into the world of steamed milk perfection! How do I adjust the steam wand for different milk textures?
When it comes to creating the perfect milk textures for your espresso-based drinks, one of the key components is adjusting the steam wand on your espresso machine. Whether you’re looking for silky smooth microfoam for your cappuccinos or thick velvety milk for your lattes, knowing how to adjust the steam wand is essential. In this article, we will walk you through the process of adjusting the steam wand for different milk textures, so you can dial in the perfect milk for your coffee creations.
Understanding the Basics of Steaming Milk
Before we dive into adjusting the steam wand for different milk textures, it’s important to understand the basics of steaming milk. When you steam milk, you are essentially introducing steam into the milk, which creates tiny bubbles and expands the milk, giving it a creamy texture. The ideal temperature for steaming milk is between 150-160°F (65-71°C), as this is the range where the sugars in the milk caramelize and create a sweet, creamy flavor. When steamed correctly, the milk should have a smooth, velvety texture with small, uniform bubbles throughout.
The Role of the Steam Wand
The steam wand on your espresso machine is responsible for steaming the milk to create the perfect texture for your coffee drinks. It consists of a metal tube that is attached to the boiler in the espresso machine. When you turn on the steam wand, steam is released from the boiler through the wand and into the milk. By adjusting the position of the steam wand in the milk pitcher and the amount of steam released, you can control the texture and temperature of the milk.
Adjusting the Steam Wand for Different Milk Textures
Now that you understand the basics of steaming milk and the role of the steam wand, let’s walk through the process of adjusting the steam wand for different milk textures.
Adjusting the Position of the Steam Wand
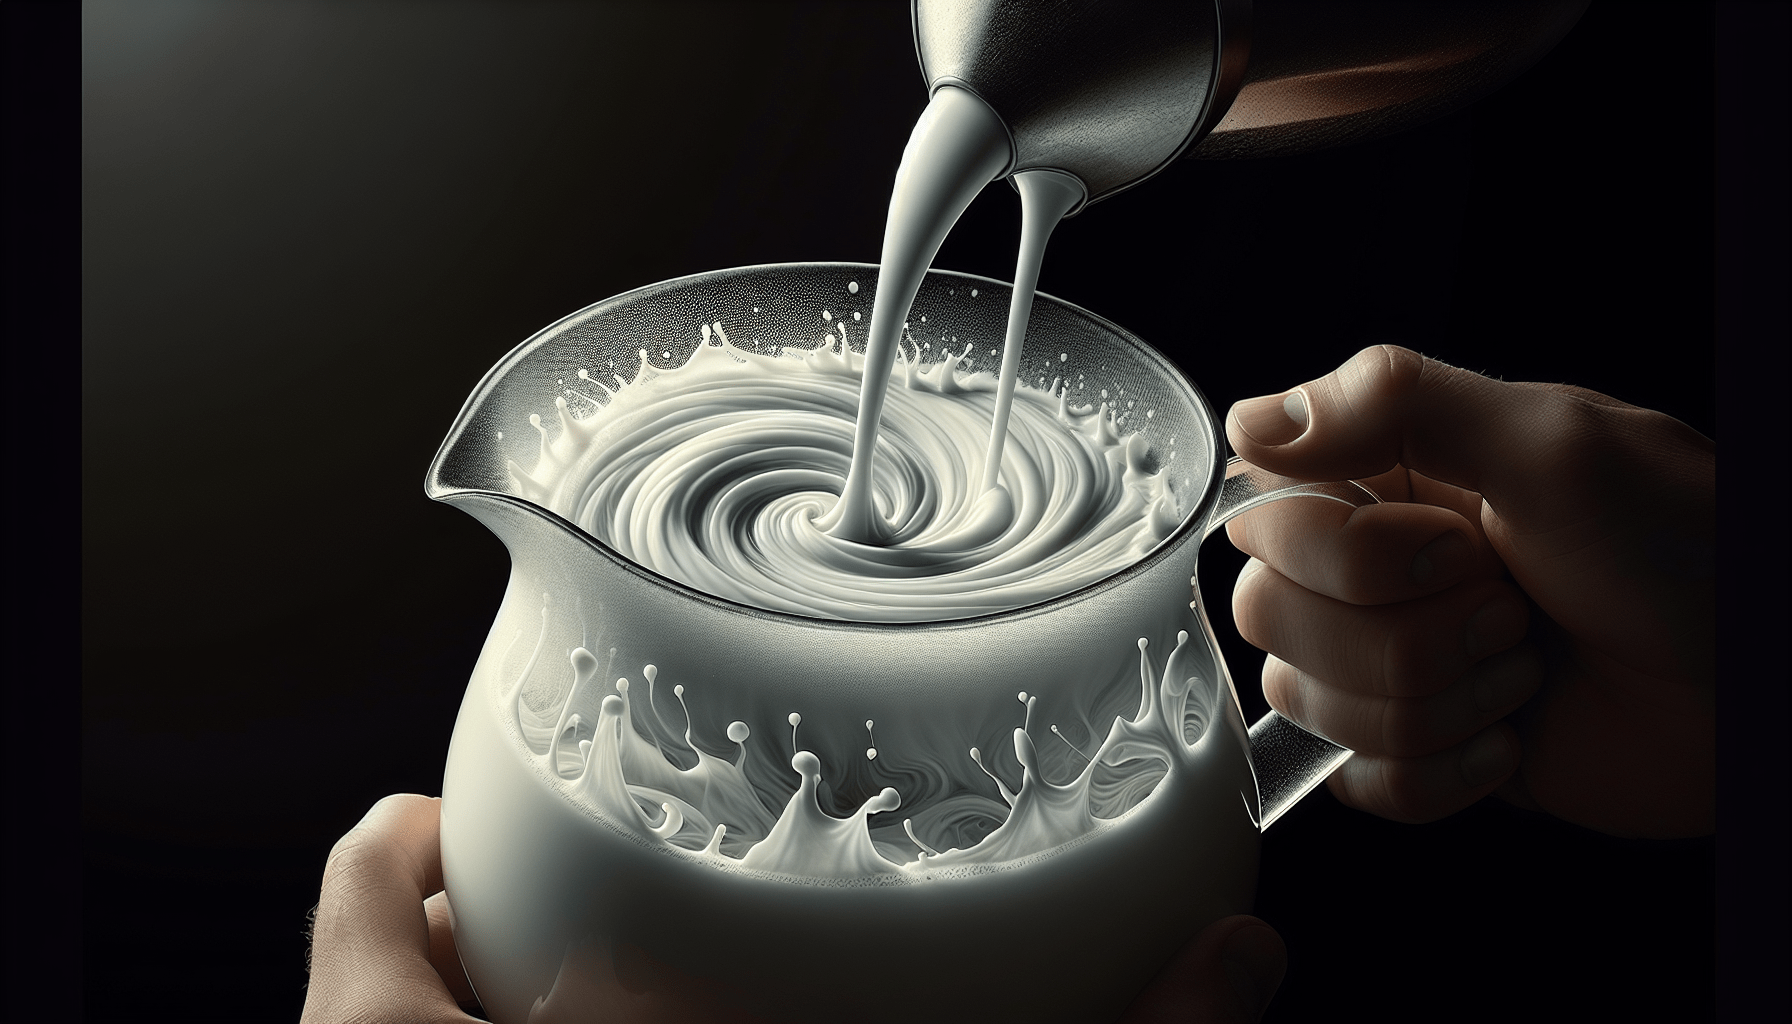
The first step in adjusting the steam wand is to position it correctly in the milk pitcher. For velvety microfoam, you’ll want to keep the steam wand tip just below the surface of the milk, right at the point where you start to hear a hissing sound. This will create a whirlpool effect in the milk, helping to incorporate the air into the milk and create a creamy texture. For thicker, frothier milk, you can lower the steam wand further into the milk, being careful not to create too many large bubbles.
Controlling the Amount of Steam
In addition to adjusting the position of the steam wand, you’ll also need to control the amount of steam released into the milk. This can be done by opening and closing the steam valve on your espresso machine. For silky microfoam, you’ll want to start with the steam valve partially open, allowing a small amount of steam to enter the milk. As the milk expands and the froth begins to form, you can adjust the steam valve to release more steam for a creamier texture.
Monitoring the Temperature
As you steam the milk, it’s important to monitor the temperature to ensure that you are within the ideal range of 150-160°F (65-71°C). You can use a milk thermometer to check the temperature of the milk as you steam it. Once the milk reaches the desired temperature, you can stop steaming and remove the steam wand from the milk pitcher. It’s important not to let the milk scald, as this can result in a bitter flavor.
Creating Different Textures
Depending on the type of coffee drink you are making, you may want to adjust the steam wand to create different textures. For cappuccinos, you’ll want to create thick, velvety microfoam that will hold its shape when poured into the espresso. To achieve this, you can position the steam wand slightly deeper into the milk and introduce more steam to create a denser foam. For lattes, on the other hand, you’ll want to create a thinner, creamier texture that will blend smoothly with the espresso. To achieve this, you can position the steam wand closer to the surface of the milk and introduce less steam to create a finer texture.
Troubleshooting Common Issues
Even with practice, you may encounter some common issues when steaming milk with the steam wand. Here are some tips for troubleshooting these issues:
Large Bubbles
If you notice large bubbles forming in the milk as you steam it, it’s likely that you are introducing too much air into the milk. To fix this issue, lower the steam wand further into the milk and adjust the steam valve to release less steam. This will help create a smoother texture with smaller bubbles throughout.
Scalded Milk
If you accidentally scald the milk while steaming, it will result in a burnt, bitter flavor. To prevent this from happening, make sure to monitor the temperature of the milk closely and remove the steam wand as soon as the milk reaches the desired temperature. You can also swirl the milk in the pitcher to help distribute the heat and cool it down quickly.
Watery Foam
If the foam you create is thin and watery, it’s likely that you are not introducing enough air into the milk. To fix this issue, position the steam wand closer to the surface of the milk and increase the amount of steam released. This will help create a denser foam with a creamier texture.
Practice Makes Perfect
Adjusting the steam wand for different milk textures may take some practice, but with time and patience, you’ll be able to create the perfect milk textures for your favorite coffee drinks. Experiment with different techniques and adjustments to find the right balance of air and steam for the texture you desire. Remember, practice makes perfect, so don’t be discouraged if your first few attempts are not perfect. Keep practicing and refining your skills, and soon you’ll be steaming milk like a pro.
In conclusion, adjusting the steam wand for different milk textures is an essential skill for any barista. By understanding the basics of steaming milk, controlling the position of the steam wand, and monitoring the temperature of the milk, you can create the perfect texture for your coffee creations. Troubleshooting common issues and practicing your technique will help you perfect your milk steaming skills and impress your customers with delicious, well-crafted drinks. So next time you fire up your espresso machine, remember these tips and techniques for adjusting the steam wand for perfect milk textures. Happy steaming!