How Do You Assemble A Siphon Coffee Maker?
Understanding the Components of a Siphon Coffee Maker
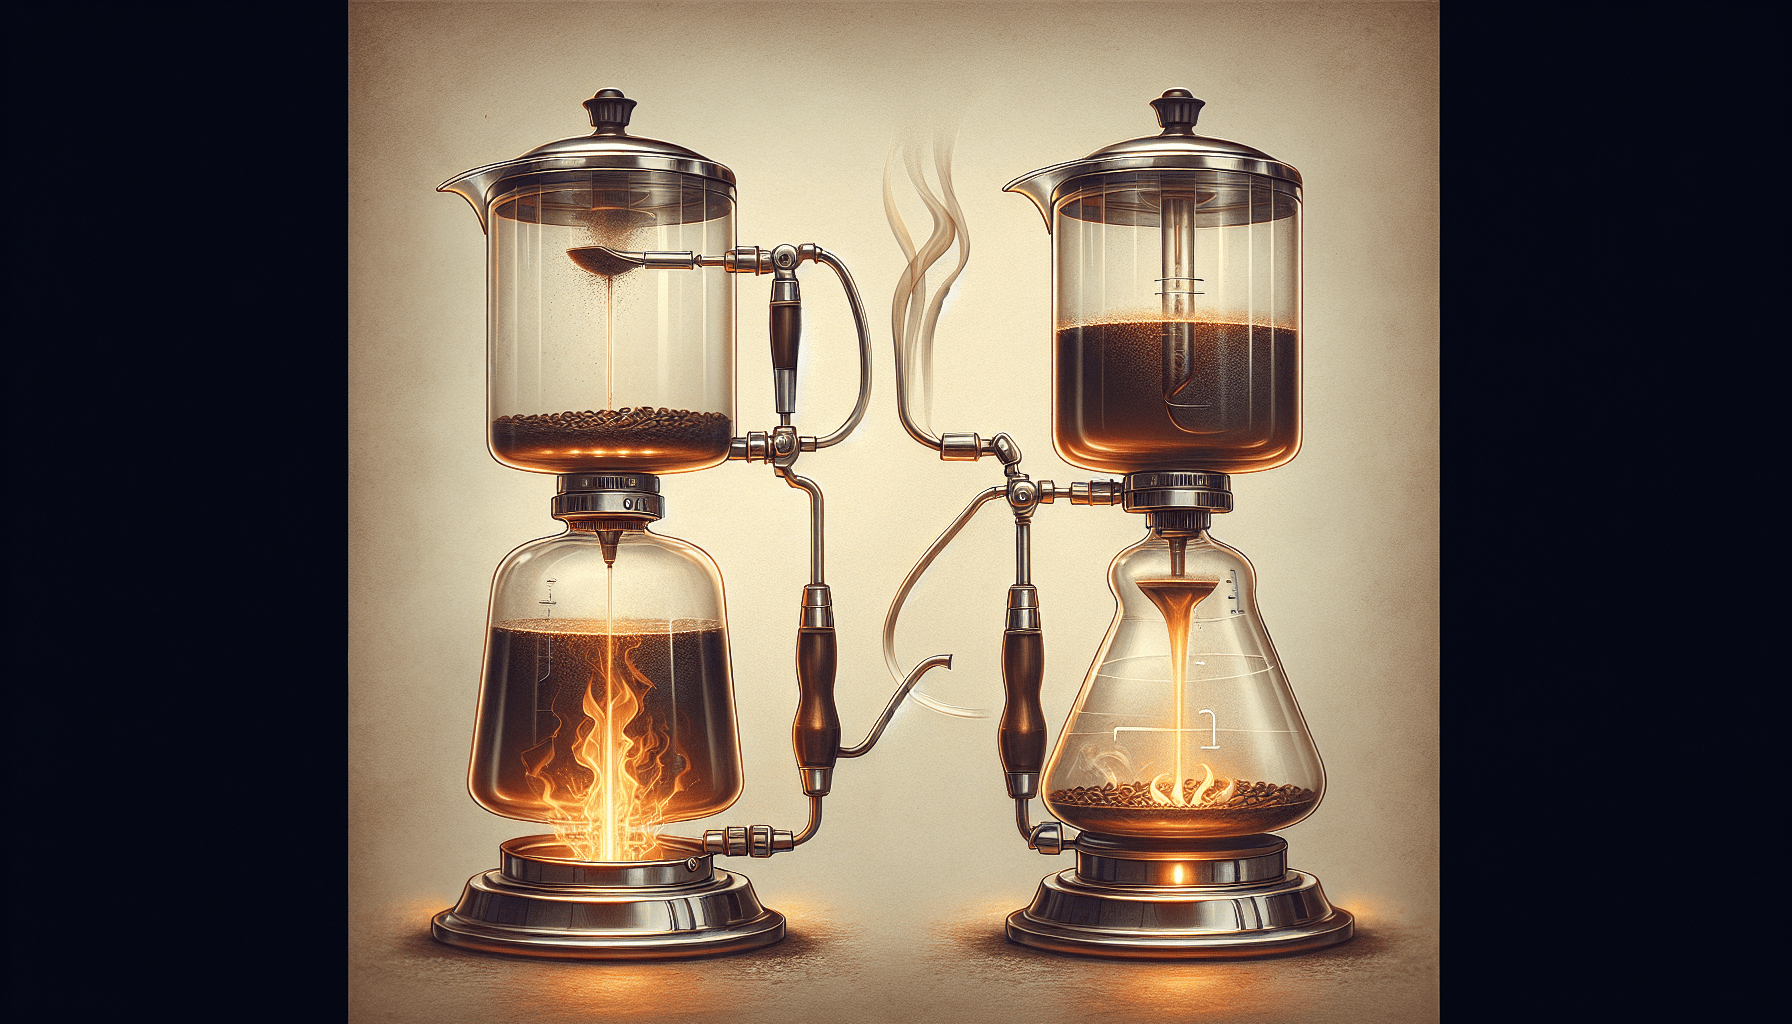
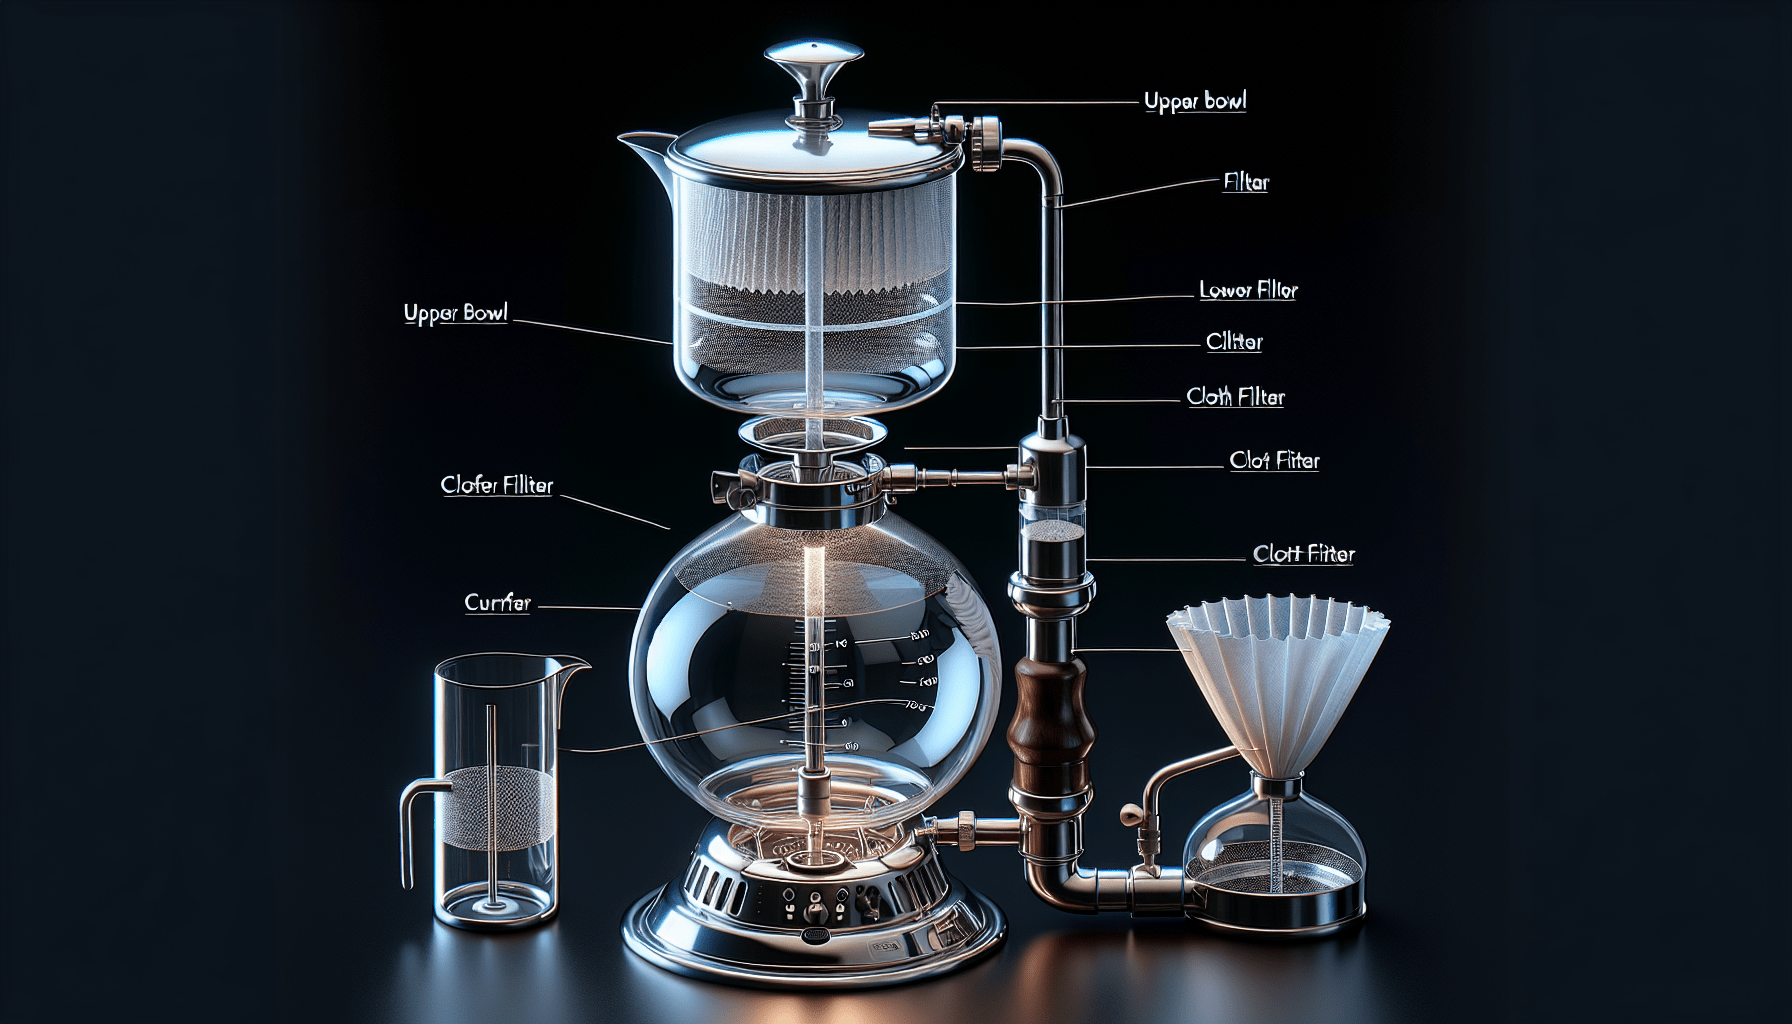
Before you dive into assembling your siphon coffee maker, it’s essential to understand the different components that make up this unique brewing device. These components include the upper bowl, lower bowl, filter, cloth filter, pot stand, and burner. Each part plays a crucial role in the brewing process, so familiarizing yourself with them will make assembly much easier.
Step-by-Step Guide to Assembling Your Siphon Coffee Maker
Now that you have a good grasp of the different parts of your siphon coffee maker, let’s walk through the step-by-step process of assembling it. Follow these simple instructions to ensure a successful brewing experience every time.
-
Place the Lower Bowl: Start by placing the lower bowl of the siphon coffee maker on a flat, stable surface. This bowl is typically made of glass and will hold the brewed coffee once the brewing process is complete.
-
Insert the Filter: Next, you’ll want to insert the filter into the lower bowl. This filter will help prevent coffee grounds from getting into your finished brew. Make sure the filter is securely in place before moving on to the next step.
-
Attach the Upper Bowl: Now it’s time to attach the upper bowl of the siphon coffee maker to the lower bowl. This upper bowl is where you’ll add the water that will be heated and forced through the coffee grounds during the brewing process. Make sure the seal between the two bowls is tight to prevent any leaks.
-
Add Water: Fill the upper bowl of the siphon coffee maker with the desired amount of water. Be sure not to overfill the bowl to avoid spillage during the brewing process. It’s a good idea to use filtered water for the best-tasting coffee.
-
Insert the Cloth Filter: Before brewing your coffee, you’ll need to insert the cloth filter into the top section of the siphon coffee maker. This filter will hold the coffee grounds and allow the brewed coffee to pass through while trapping any sediment.
-
Secure the Pot Stand: Place the pot stand on top of the lower bowl, ensuring that it is stable and securely in place. The pot stand will hold the upper bowl in position during the brewing process, so it’s essential to make sure it’s properly set up.
-
Heat the Water: Once your siphon coffee maker is fully assembled, it’s time to heat the water in the upper bowl. You can use a burner designed for siphon coffee makers or a butane burner for this step. The water will heat up and rise into the upper bowl, where it will mix with the coffee grounds.
-
Add Coffee Grounds: With the water heated and in the upper bowl, it’s time to add the coffee grounds. You can use the coffee of your choice and adjust the amount based on your preferences. Once the coffee grounds are added, give them a gentle stir to ensure even extraction.
-
Brew Your Coffee: As the water and coffee grounds mix in the upper bowl, they will begin to brew. The siphon coffee maker uses a vacuum seal to force the brewed coffee back down into the lower bowl, where it will be ready to serve once the brewing process is complete. Keep an eye on the brewing process to ensure you don’t over-extract the coffee.
-
Serve and Enjoy: Once the brewing process is complete, carefully remove the upper bowl from the lower bowl using caution to avoid burns. Pour the brewed coffee from the lower bowl into your preferred serving vessel and enjoy the rich flavors of siphon-brewed coffee.
Cleaning and Maintenance Tips for Your Siphon Coffee Maker
Proper cleaning and maintenance of your siphon coffee maker will ensure that it continues to produce delicious coffee for years to come. Follow these simple tips to keep your brewing device in top condition.
-
Clean After Each Use: It’s essential to clean your siphon coffee maker after each use to prevent coffee residue from building up and affecting the taste of your brew. Disassemble the different parts of the coffee maker and wash them with warm, soapy water. Be sure to rinse thoroughly to remove any soap residue.
-
Deep Clean Regularly: In addition to regular cleaning after each use, it’s a good idea to perform a deep clean of your siphon coffee maker on a regular basis. This can involve soaking the glass components in a solution of water and white vinegar to remove any stubborn residue.
-
Check for Wear and Tear: Periodically inspect your siphon coffee maker for any signs of wear and tear, such as cracks or chips in the glass components. Replace any damaged parts immediately to prevent leaks during the brewing process.
-
Store Properly: When not in use, store your siphon coffee maker in a cool, dry place away from direct sunlight. This will help prevent the glass from becoming brittle or discolored over time.
-
Replace Filters Regularly: If your siphon coffee maker uses cloth filters, be sure to replace them regularly to ensure optimal brewing performance. Cloth filters can become clogged over time, affecting the flow of water during the brewing process.
By following these simple tips for cleaning and maintenance, you can ensure that your siphon coffee maker remains in top condition and continues to produce delicious coffee for years to come.
Troubleshooting Common Issues with Your Siphon Coffee Maker
Even with proper assembly and maintenance, you may encounter some issues with your siphon coffee maker from time to time. Here are some common problems and how to troubleshoot them effectively.
-
Leaking Seals: If you notice that your siphon coffee maker is leaking during the brewing process, the seals between the upper and lower bowls may be faulty or not properly aligned. Check the seals for any signs of wear or damage and reposition them to ensure a tight seal.
-
Uneven Extraction: Inconsistent extraction can result in a weak or bitter-tasting brew. To remedy this issue, try adjusting the grind size of your coffee beans or the brewing time. Experiment with different variables until you achieve a balanced and flavorful cup of coffee.
-
Over-Extraction: If your coffee tastes bitter or astringent, it may be the result of over-extraction during the brewing process. To prevent this issue, monitor the brewing time carefully and remove the coffee grounds from the heat source once the extraction is complete.
-
Difficulty Cleaning: If you find that cleaning your siphon coffee maker is a challenge, try using a cleaning solution specifically designed for coffee equipment. These solutions can help break down stubborn coffee residue and make cleaning easier.
-
Burner Malfunction: If you’re using a butane burner with your siphon coffee maker, make sure the burner is properly filled and ignited. If the burner fails to heat the water in the upper bowl, check for clogs or other obstructions that may be affecting the flow of butane.
By addressing these common issues with your siphon coffee maker proactively, you can enjoy a smooth brewing experience and delicious coffee every time.
Conclusion
Assembling a siphon coffee maker may seem like a daunting task at first, but with the right knowledge and guidance, you can quickly master the process and enjoy the rich, flavorful brew that this unique brewing device produces. By following the step-by-step instructions outlined in this article, you can confidently assemble your siphon coffee maker, troubleshoot common issues, and keep it well-maintained for years of brewing enjoyment. So go ahead, gather your siphon coffee maker components, and start brewing your favorite coffee beans to perfection!