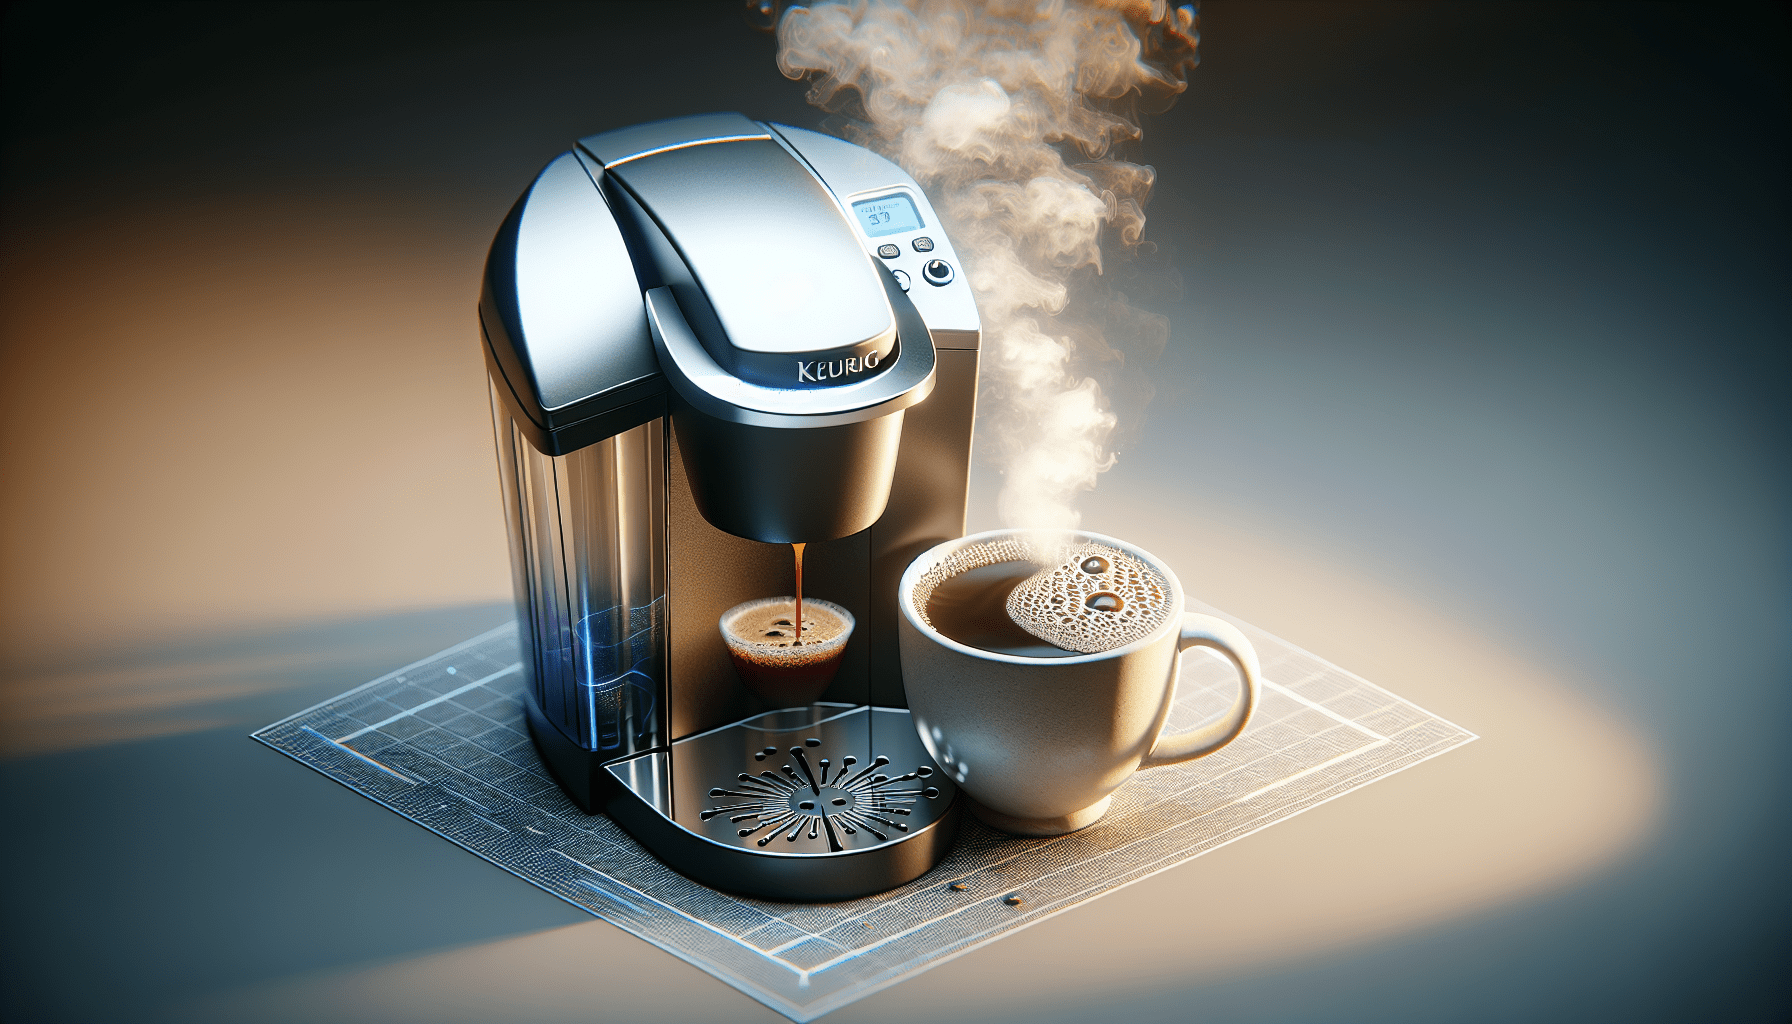
If you’re a coffee lover who relies on the convenience of a K-cup coffee maker, then you know how important it is to keep it clean for a consistently delicious cup of joe. But do you ever find yourself wondering, “How do you clean a K-cup coffee maker?” Well, fret not, because in this article, we’ll guide you through the simple steps to keep your K-cup coffee maker sparkling and your morning coffee experience exceptional. So, grab your cleaning supplies and let’s get started on maintaining the perfect brew!
Cleaning the Exterior
Wiping the surface
To start cleaning your K-cup coffee maker, begin by wiping down the exterior surface with a soft, damp cloth. This will remove any dust or grime that may have accumulated on the machine. Make sure to dry it thoroughly afterwards to prevent any water spots or streaks.
Cleaning with mild soap
For any stubborn stains or residue on the exterior of your coffee maker, you can use a mild soap solution. Mix a small amount of dish soap with warm water and dip a cloth or sponge into the mixture. Gently scrub away any stains or dirt, being careful not to get any water into the machine itself. Once again, ensure that the machine is completely dry before using it again.
Removing stubborn stains
If you encounter any particularly stubborn stains or buildup on the exterior of your K-cup coffee maker, there are a few additional methods you can try. One option is to make a paste using baking soda and water, and apply it to the stain. Let it sit for a few minutes, then gently scrub it away with a damp cloth or sponge. Another method is to use a vinegar solution by mixing equal parts of white vinegar and water. Apply the solution to the stain and let it sit for a few minutes before wiping it away.
Cleaning the Water Reservoir
Emptying the reservoir
Before cleaning the water reservoir of your K-cup coffee maker, ensure that it is completely empty. Remove any remaining water or coffee from the reservoir. Be careful not to spill any water on the machine itself, as this can cause damage.
Cleaning with vinegar solution
To thoroughly clean the water reservoir, prepare a solution of equal parts white vinegar and water. Fill the reservoir with this solution and let it sit for about 30 minutes to loosen any mineral deposits or residue. After the solution has had time to work, empty the reservoir and give it a good rinse with clean water.
Rinsing with clean water
After cleaning the water reservoir with the vinegar solution, it is important to thoroughly rinse it with clean water to remove any remaining vinegar smell or taste. Fill the reservoir with fresh water and let it run through the machine, then empty and refill with clean water again. Repeat this process until there is no longer any trace of vinegar smell or taste.
Cleaning the Drip Tray and Pod Holder
Removing and cleaning the drip tray
The drip tray and pod holder of your K-cup coffee maker can accumulate residue and coffee grounds over time. Start by removing the drip tray from the machine. Rinse it under warm water to remove any residue, and use a mild soap if necessary. Similarly, remove the pod holder and rinse it thoroughly. Make sure all parts are completely dry before reassembling them back into the machine.
Cleaning the pod holder
To clean the pod holder more thoroughly, you can use a small brush or toothbrush. Gently scrub the inside of the pod holder to remove any residue or buildup that may have accumulated. Rinse it thoroughly with warm water and dry it completely before placing it back into the machine. This will ensure that your coffee maker remains clean and free of any old coffee grounds or residue.
Cleaning the Needle
Removing the needle
The needle of your K-cup coffee maker can become clogged with coffee grounds or residue over time, which can affect the brewing process. To clean the needle, you’ll need to remove it from the machine. Refer to your manufacturer’s instructions on how to safely remove the needle. Once removed, proceed to the next step.
Cleaning the needle with a brush
Using a small brush or toothbrush, gently scrub the needle to remove any coffee grounds or residue. Be careful not to apply too much pressure or bend the needle. Ensure that all visible debris is removed from the needle.
Reassembling the needle
After cleaning the needle, carefully reassemble it back into the coffee maker according to the manufacturer’s instructions. Take your time to ensure it is securely in place, as a loose or misaligned needle can cause issues with the brewing process. Once reassembled, it’s a good idea to run a water-only brew cycle to flush out any remaining residue or cleaning solution.
Descaling the Coffee Maker
Choosing a descaling solution
Over time, mineral deposits can build up inside your K-cup coffee maker, affecting its performance and the taste of your coffee. Descaling the machine regularly is important to keep it running smoothly. There are commercially available descaling solutions specifically designed for coffee makers. Choose one that is compatible with your machine and follow the manufacturer’s instructions for usage.
Preparing the coffee maker
Before running a descaling cycle, make sure to thoroughly rinse the water reservoir and refill it with fresh water. Empty any unused K-cups from the machine and ensure that the brew head is clean and free of any coffee grounds or residue.
Running descaling cycle
Once you have prepared the machine and the water reservoir is filled with fresh water, follow the instructions on your chosen descaling solution for running a descaling cycle. This process usually involves brewing a solution of descaling solution and water through the machine, which helps dissolve and remove any mineral deposits or buildup. Let the solution sit in the machine for the recommended amount of time to effectively tackle the scale.
Flushing with clean water
After the descaling cycle is complete, it is crucial to flush the coffee maker with clean water to remove any remaining descaling solution or residue. Fill the water reservoir with fresh water and run a water-only brew cycle through the machine. Repeat this process until there is no longer any trace of the descaling solution or smell.
Cleaning the Filters
Removing the filters
Your K-cup coffee maker may have both reusable and disposable filters. Start by removing any removable filters, such as reusable mesh filters or filter baskets. Refer to your machine’s manual for specific instructions on how to remove the filters.
Cleaning reusable filters
If your coffee maker has reusable filters, such as mesh filters, clean them by rinsing them under warm water. Use a brush or toothbrush to gently scrub away any coffee grounds or residue. Make sure to thoroughly rinse the filters to remove any remaining debris.
Replacing disposable filters
If your coffee maker uses disposable filters, simply remove and discard the used filter. Replace it with a fresh one according to the manufacturer’s instructions. Using clean disposable filters ensures that your coffee is brewed with optimal quality and taste.
Cleaning the Brew Head
Disassembling the brew head
The brew head is a crucial component of your K-cup coffee maker, responsible for releasing hot water into the K-cup during brewing. Depending on the model, the brew head may be detachable. If possible, carefully remove the brew head according to the manufacturer’s instructions.
Cleaning the brew head components
Once the brew head is removed, use warm water and a soft cloth or sponge to clean the exterior of the brew head. Pay close attention to any nooks or crevices where coffee grounds or residue may have accumulated. If necessary, use a small brush or toothbrush to gently scrub the components. Rinse the brew head thoroughly and dry it completely before reassembling it back into the coffee maker.
Cleaning the Keurig Plus Series
Removing and cleaning the funnel
For Keurig Plus Series machines, there is an additional component that needs regular cleaning – the funnel. The funnel helps direct the water and coffee flow during brewing. To clean it, simply remove it from the machine and wash it with warm, soapy water. Rinse it thoroughly and dry it completely before reinserting it into the machine.
Cleaning the exit needle
The Keurig Plus Series machines also have an exit needle that can become clogged with coffee grounds or residue. Follow the steps mentioned earlier for removing the needle and cleaning it with a brush. Ensure that the exit needle is free of any blockage and properly reassembled before using the machine again.
Regular Maintenance Tips
Cleaning the K-cup holder regularly
To maintain optimum cleanliness and performance of your K-cup coffee maker, it’s important to clean the K-cup holder regularly. After each use, remove the used K-cup and rinse the holder with warm water. Use a brush or cloth to remove any stuck coffee grounds or residue. Make sure to let the holder dry completely before using it again.
Running water-only brew cycles
Running water-only brew cycles periodically can help keep your coffee maker clean and free of any coffee residue or buildup. Simply fill the water reservoir with fresh water and run a few cycles without any coffee pods. This will flush out any remaining particles in the system and maintain the freshness of your brewed coffee.
Keeping the coffee maker dry when not in use
After cleaning your K-cup coffee maker, it’s essential to keep it dry when not in use. Avoid leaving any excess water in the machine, as this can lead to mold or mildew growth. Wipe down the exterior and interior surfaces with a dry cloth to remove any moisture and ensure that all parts are completely dry before storing it.
Final Words of Caution
Disconnecting from the power source
Before starting any cleaning or maintenance tasks on your K-cup coffee maker, always make sure to disconnect it from the power source. This ensures your safety and prevents any potential accidents.
Avoiding submerging in water
While cleaning various components of your coffee maker, it is important to avoid submerging the entire machine in water. Submerging electrical parts can damage the machine and pose a safety risk. Stick to using damp cloths or cleaning solutions specified for coffee makers.
Reading the manufacturer’s instructions
Before attempting any cleaning or maintenance tasks, it is crucial to thoroughly read and understand the manufacturer’s instructions provided with your specific K-cup coffee maker. Different models may have different requirements and guidelines for cleaning and maintenance. Adhering to the manufacturer’s recommendations will help ensure the longevity and proper functioning of your machine.
Taking the time to clean and maintain your K-cup coffee maker regularly will not only improve the taste and quality of your brewed coffee but also extend the life of your machine. By following these comprehensive cleaning steps, your coffee maker will remain in top condition, ensuring a delightful cup of coffee every time. So go ahead, grab your cleaning supplies, and give your trusty K-cup coffee maker the TLC it deserves!


