Have you ever wondered how long it takes to brew coffee with a siphon coffee maker? Well, you’re in for a treat! In this article, we will explore the time it takes to create that perfect cup of coffee using this unique brewing method. So grab your favorite mug and get ready to discover the fascinating world of siphon coffee brewing.
Preparation
Gathering the necessary equipment
Before you can begin brewing coffee with a siphon coffee maker, you will need to gather all the necessary equipment. This includes a siphon coffee maker, a heat source, a kettle or pot for boiling water, a thermometer, a coffee grinder, freshly roasted coffee beans, a measuring scale or scoop, a stirring spoon, a serving vessel, and any additional ingredients you may want to add to your coffee.
Measuring the coffee and water
Once you have assembled all the required equipment, it’s time to measure the coffee and water. The ratio of coffee to water is an essential factor in determining the strength and flavor of your brew. A common guideline is to use a ratio of 1:15 or 1:16, which means for every gram of coffee, you will use 15-16 grams of water. Depending on your personal preference, you can adjust this ratio to make your coffee stronger or weaker.
Setting up the siphon coffee maker
Now that you have everything ready, it’s time to set up your siphon coffee maker. Start by placing the bottom chamber on a stable surface, ensuring it is clean and dry. Next, attach the top chamber securely to the bottom chamber, ensuring a proper fit and seal. Make sure the filter is in place, either attached to the bottom of the top chamber or inserted into a separate metal filter holder. Lastly, connect the tubes firmly, ensuring there are no leaks or loose connections.
Heating the Water
Boiling the water
To brew coffee with a siphon coffee maker, you will need to boil the water. Start by filling a kettle or pot with the desired amount of water, depending on the amount of coffee you want to make. Place the kettle or pot on a heat source, such as a stovetop or electric burner, and wait for the water to reach a rolling boil.
Ensuring the water temperature
Once the water is boiling, it’s essential to ensure the water temperature is appropriate for brewing your coffee. The ideal water temperature for siphon brewing is between 195°F (90°C) and 205°F (96°C). This temperature range allows for optimal extraction of flavors from the coffee grounds. To measure the water temperature, use a thermometer and insert it into the boiling water. Be careful not to touch the sides or bottom of the pot to get an accurate reading.
Assembling the Siphon Coffee Maker
Attaching the bottom and top chambers
To assemble the siphon coffee maker, start by attaching the bottom and top chambers securely. Ensure that the seal between the two chambers is tight to prevent any air or water from escaping during the brewing process. The bottom chamber is where the water will be heated, while the top chamber is where the coffee will steep and brew.
Inserting the filter and connecting the tubes
Once the chambers are securely attached, insert the filter into the appropriate location depending on your siphon coffee maker’s design. Some siphon coffee makers have the filter attached to the bottom of the top chamber, while others use a separate metal filter holder. Make sure the filter is clean and in good condition to ensure a clean and sediment-free brew. Additionally, connect the tubes firmly, ensuring there are no leaks or loose connections.
Checking for proper fit and seal
Before you proceed to the next steps, it’s important to double-check that all the components of the siphon coffee maker are properly fitted and sealed. This includes ensuring that the chambers are securely attached, the filter is in place without any gaps, and the tubes are tightly connected. A proper fit and seal are crucial for the smooth operation and effectiveness of the siphon coffee maker.
Adding Coffee
Selecting the desired coffee grind
Selecting the appropriate coffee grind is essential for siphon brewing. Since siphon coffee makers use a vacuum brewing method, it’s best to use a medium grind size that is neither too coarse nor too fine. A medium grind allows for optimal extraction and prevents clogging or over-extraction. The grind size should resemble granulated sugar or coarse sand, providing a good balance of surface area for extraction.
Measuring the appropriate amount of coffee
To achieve the desired strength and flavor in your coffee, it’s crucial to measure the appropriate amount of coffee. Use a scale or measuring scoop to accurately measure the coffee according to the coffee-to-water ratio you have chosen. For example, if you are using a 1:15 ratio and brewing 300 grams of coffee, you will need 20 grams of coffee. Adjust the measurements based on your personal preference and the desired strength of your brew.
Brewing Process
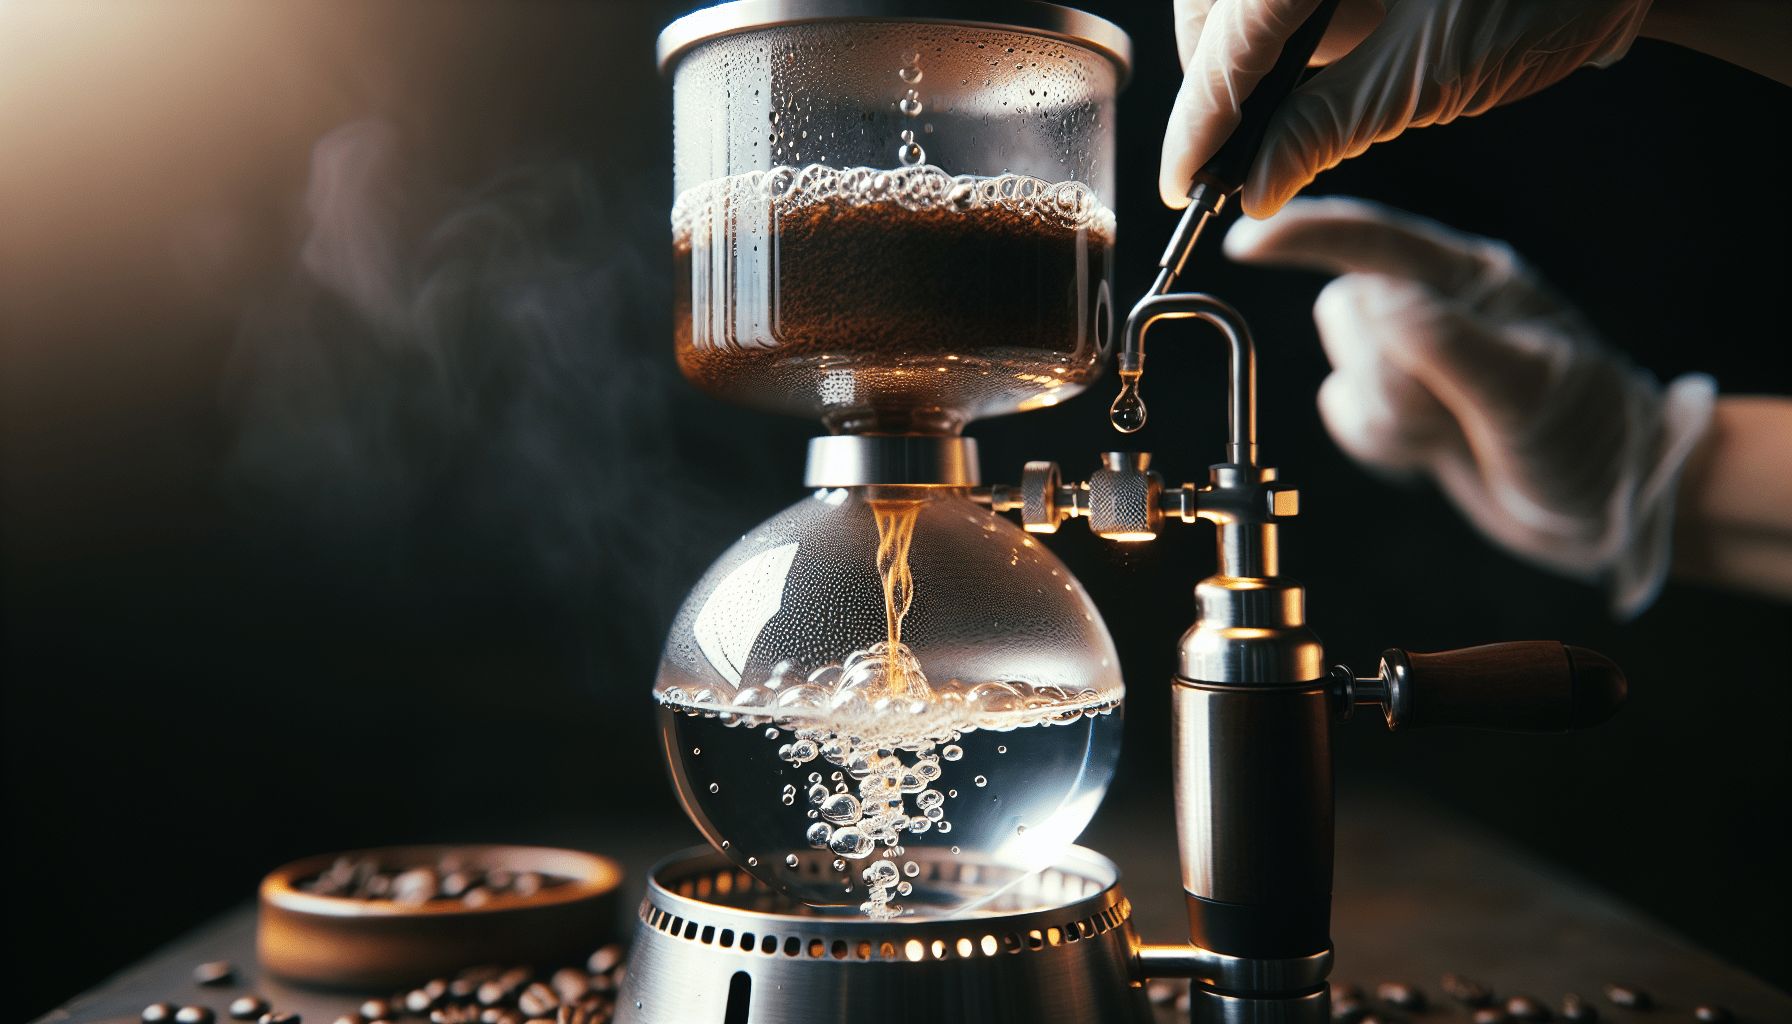
Placing the siphon on a heat source
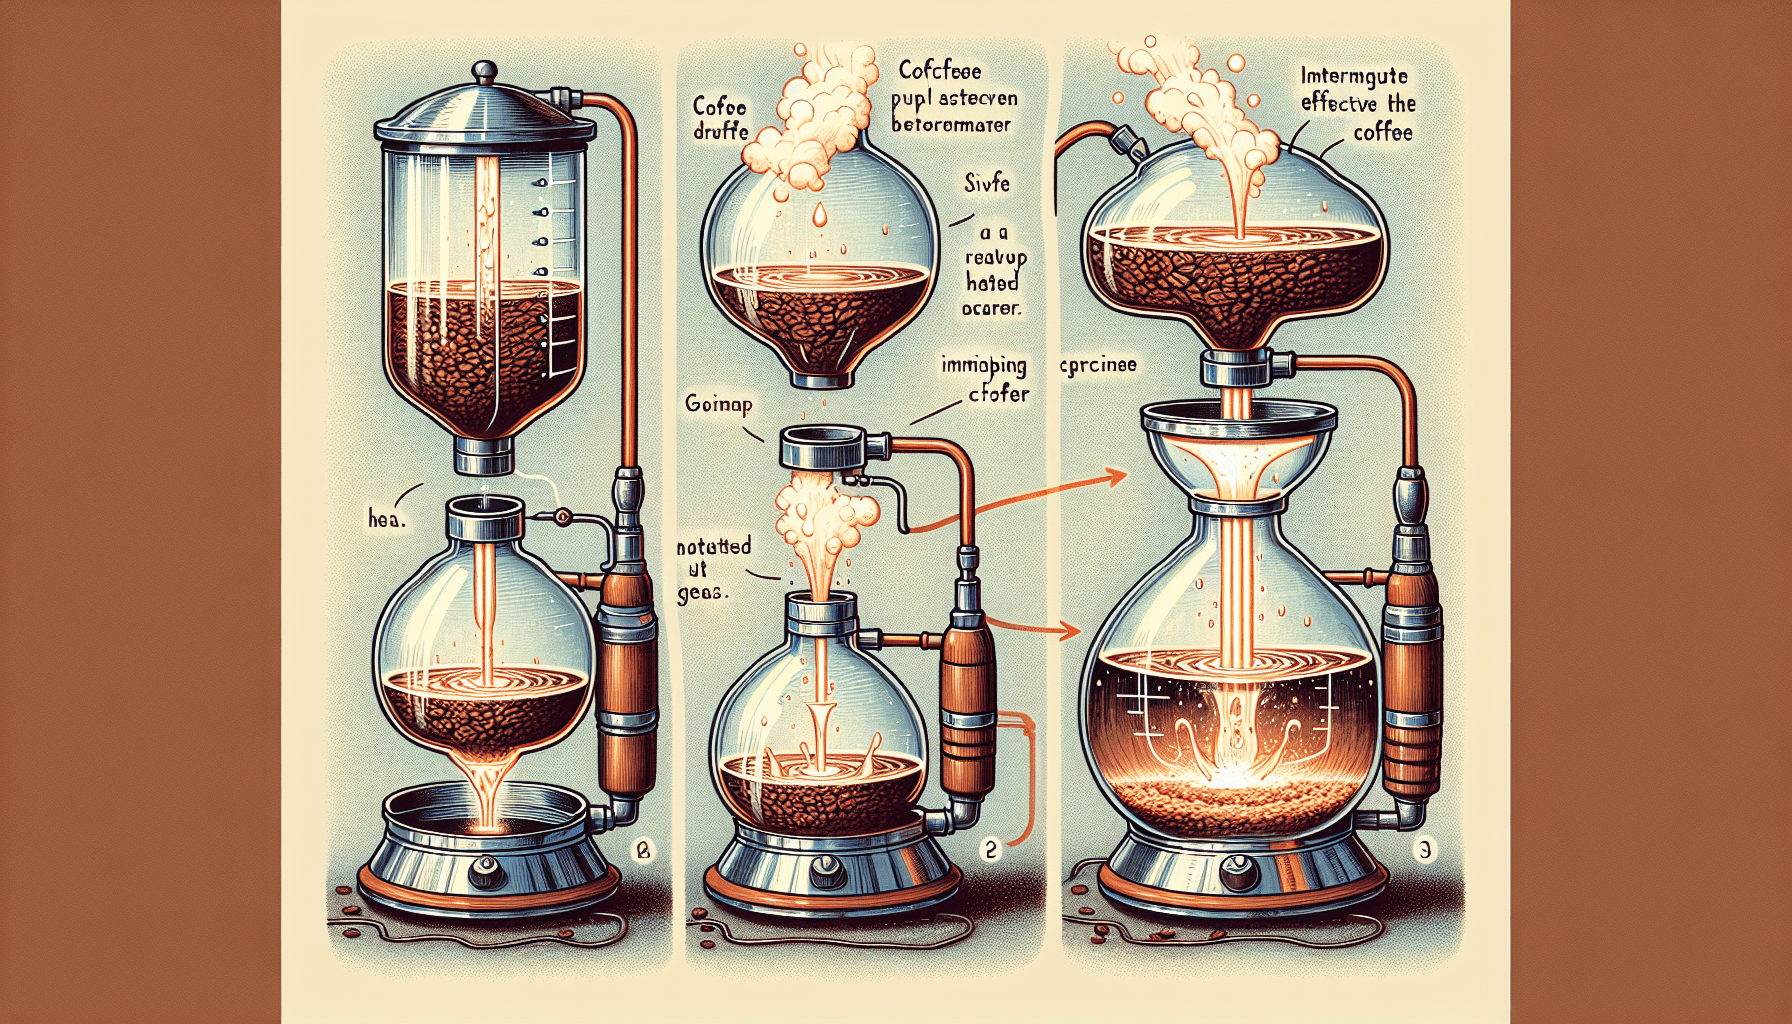
Now that you have prepared the siphon coffee maker and measured the coffee, it’s time to begin the brewing process. Place the assembled siphon coffee maker on a heat source, such as a stovetop or electric burner. Ensure that the heat source is set to medium or low heat to maintain a consistent temperature throughout the brewing process.
Observing the brewing process
Once the siphon coffee maker is on the heat source, you’ll start to see the water in the bottom chamber rise due to the heat. As the water reaches the top chamber, it will mix with the coffee grounds, resulting in the extraction of flavors and the brewing process. Take a moment to observe and enjoy the mesmerizing visual display as the coffee starts to brew.
Stirring the coffee grounds
To ensure an even extraction and enhance the flavor of your coffee, it’s recommended to gently stir the coffee grounds when they are fully saturated. You can use a stirring spoon or paddle to agitate the coffee grounds, helping to release any trapped gases and promoting a balanced extraction. Stirring also helps to prevent any grounds from sticking to the sides of the chamber.
Monitoring the water level
During the brewing process, it’s important to monitor the water level in the bottom chamber. As the coffee brews, the water level will gradually decrease, indicating that the brewing process is nearing completion. Ensure that the water level remains above the minimum required level to prevent the siphon coffee maker from overheating and causing potential damage.
Temperature and Brew Time
Maintaining the water temperature
As the brewing process progresses, it’s crucial to maintain the water temperature within the appropriate range. If the water temperature drops too low, it can result in under-extraction and a weak-tasting brew. To maintain the temperature, you can adjust the heat source accordingly or use a heat-resistant cloth or trivet to insulate the bottom chamber.
Calculating the total brew time
The total brew time for a siphon coffee maker can vary depending on several factors, including the amount of coffee, desired strength, and personal preference. On average, the brewing process usually takes around 3-5 minutes. However, it’s essential to experiment and adjust the brew time to achieve the perfect balance of flavors and strength that suits your taste.
Removing the Siphon from Heat
Turning off the heat source
Once the brewing process is complete, it’s time to remove the siphon coffee maker from the heat source. Siphon coffee makers can be prone to overheating if left on the heat source for an extended period. To prevent potential damage or overheating, simply turn off the heat source before proceeding to the next steps.
Carefully removing the siphon from the heat
After turning off the heat source, it’s important to let the siphon coffee maker cool down for a few moments before handling it. The chambers and tubes can become very hot during the brewing process, so exercise caution when removing and handling the siphon. Use heat-resistant gloves or a towel to protect your hands and prevent any accidental burns.
Separating the Chambers
Allowing the pressure to equalize
Before separating the chambers of the siphon coffee maker, it’s essential to allow the pressure to equalize. This helps prevent any hot coffee or water from shooting out when the chambers are separated. Give it a few moments for the pressure to stabilize before moving on to the next step.
Gently separating the bottom and top chambers
With the pressure equalized, you can now gently separate the bottom and top chambers of the siphon coffee maker. Be cautious as hot liquids may still be present, so take your time and handle the chambers with care. Separating the chambers allows for easy pouring of the brewed coffee and prepares you for the final steps of the process.
Transferring and Enjoying
Pouring the brewed coffee into a serving vessel
Using caution, carefully pour the brewed coffee from the top chamber into a serving vessel. Slow and steady pouring helps minimize any sediment or coffee grounds from entering the serving vessel. The aroma and flavors of the freshly brewed coffee will be evident as you transfer it, further heightening your anticipation of enjoying a delicious cup of coffee.
Adding any desired additional ingredients
Once the brewed coffee is in the serving vessel, you may choose to add additional ingredients to enhance the flavor or customize your cup of coffee. This could include milk, cream, sugar, flavored syrups, or spices. Experiment with different combinations to find your perfect cup of siphon-brewed coffee.
Savoring and enjoying the freshly brewed coffee
Finally, it’s time to savor and enjoy the fruit of your brewing efforts. Take a moment to appreciate the aroma, flavors, and complexity of the siphon-brewed coffee. The visually stunning brewing process and meticulous attention to detail have come together to create a unique and satisfying coffee experience. Sit back, relax, and enjoy every sip of your freshly brewed coffee.
Cleaning and Maintenance
Disassembling and rinsing the siphon
After you have enjoyed your cup of siphon-brewed coffee, it’s important to clean and maintain your siphon coffee maker. Start by carefully disassembling the various components, including removing the filter, disconnecting the tubes, and separating the chambers. Rinse each component thoroughly with warm water to remove any coffee residue or oils.
Cleaning the individual components
Once all the components are rinsed, use a mild dish soap or cleaning solution specifically designed for coffee equipment to clean each part. Pay attention to any areas that may have accumulated residue or buildup, such as the filter, tubes, and chambers. Use a soft sponge or brush to gently scrub away any stubborn stains or residue.
Drying and storing the siphon coffee maker
After cleaning, ensure that all the components are thoroughly dried to prevent any residual moisture that could lead to mold or corrosion. You can air dry the components or use a clean towel to dry them manually. Once dry, reassemble the siphon coffee maker and store it in a cool, dry place, free from any potential damage or contamination. Regular cleaning and proper storage will help extend the lifespan of your siphon coffee maker and ensure the continued production of high-quality brews.
In conclusion, brewing coffee with a siphon coffee maker involves several steps, including preparation, assembling the siphon, heating the water, adding coffee, monitoring the brewing process, and finishing with the extraction and enjoyment of the freshly brewed coffee. Each step requires attention to detail and care to achieve the best results. With practice and experimentation, you can perfect your siphon brewing technique and indulge in the unique flavors and visual spectacle that this brewing method offers.