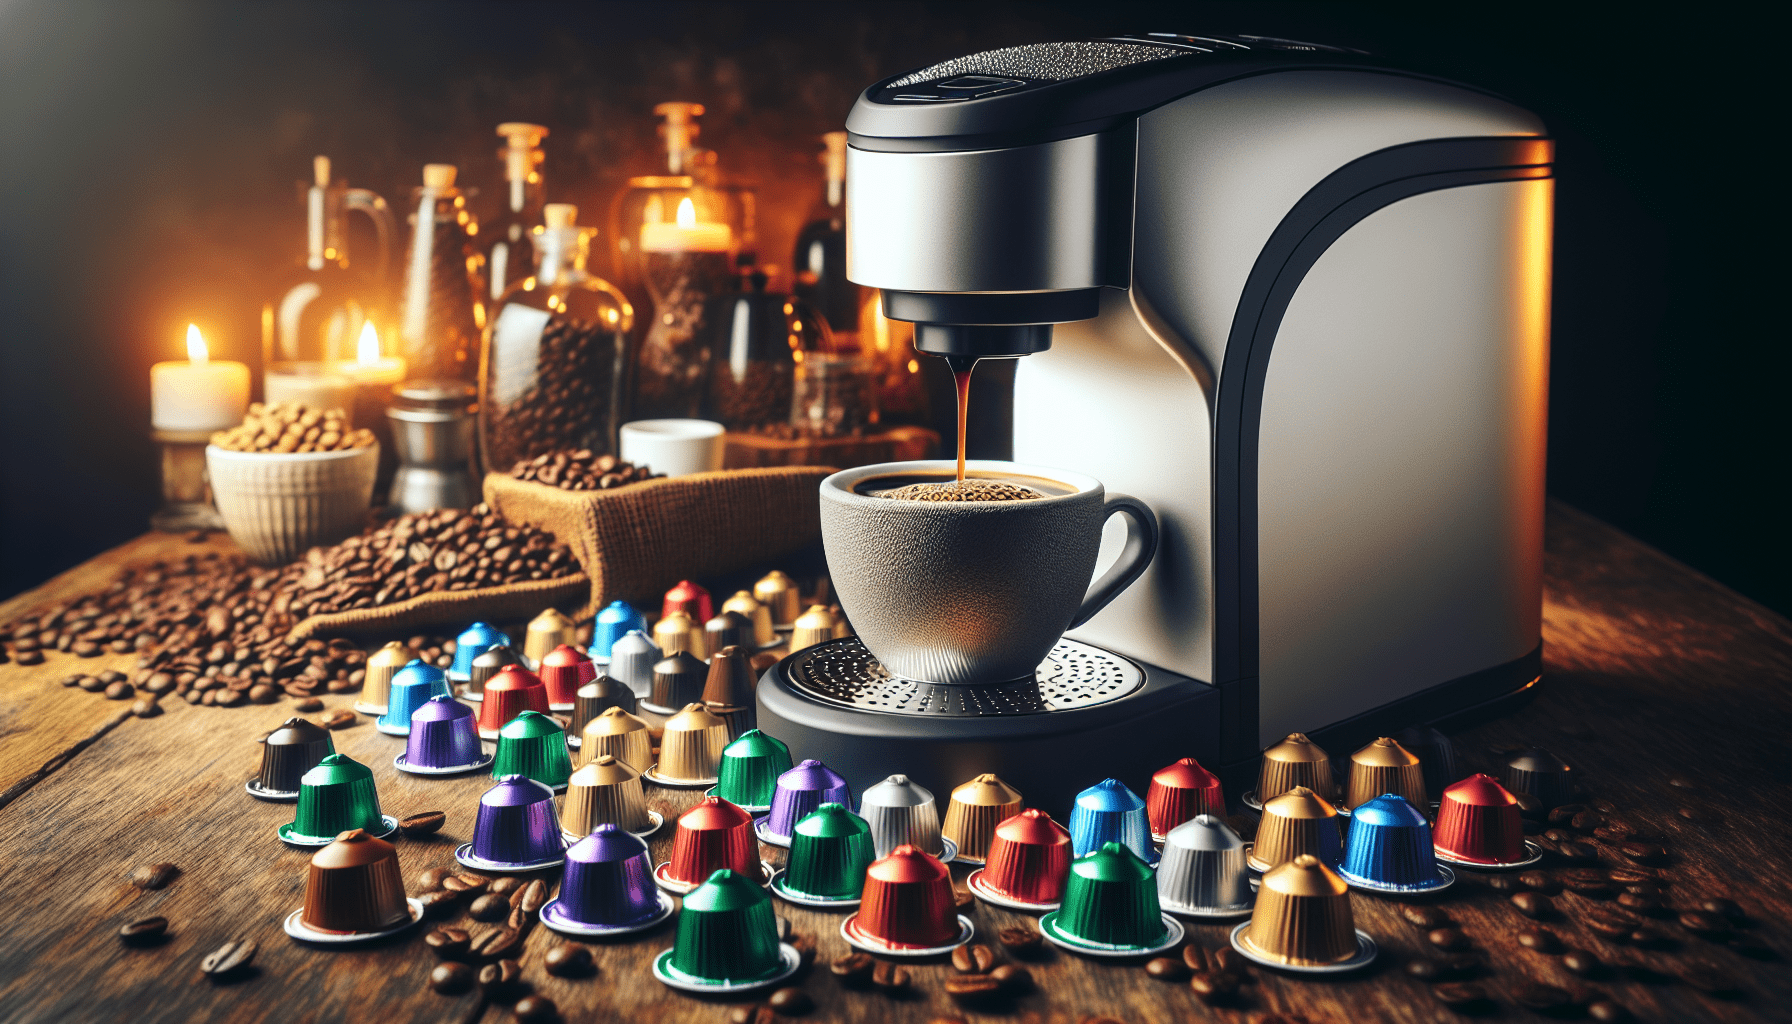
If you’re a coffee lover who relies on their trusty single-serve coffee maker to kickstart your mornings, you may find yourself wondering how to keep it at its best. Over time, mineral deposits and buildup can accumulate in your coffee maker, affecting its performance and the taste of your brewed cup of joe. But fear not! In this article, we’ll guide you through the simple and effective process of descaling your single-serve coffee maker, ensuring that it continues to deliver the perfect cup of coffee every time.
What is descaling?
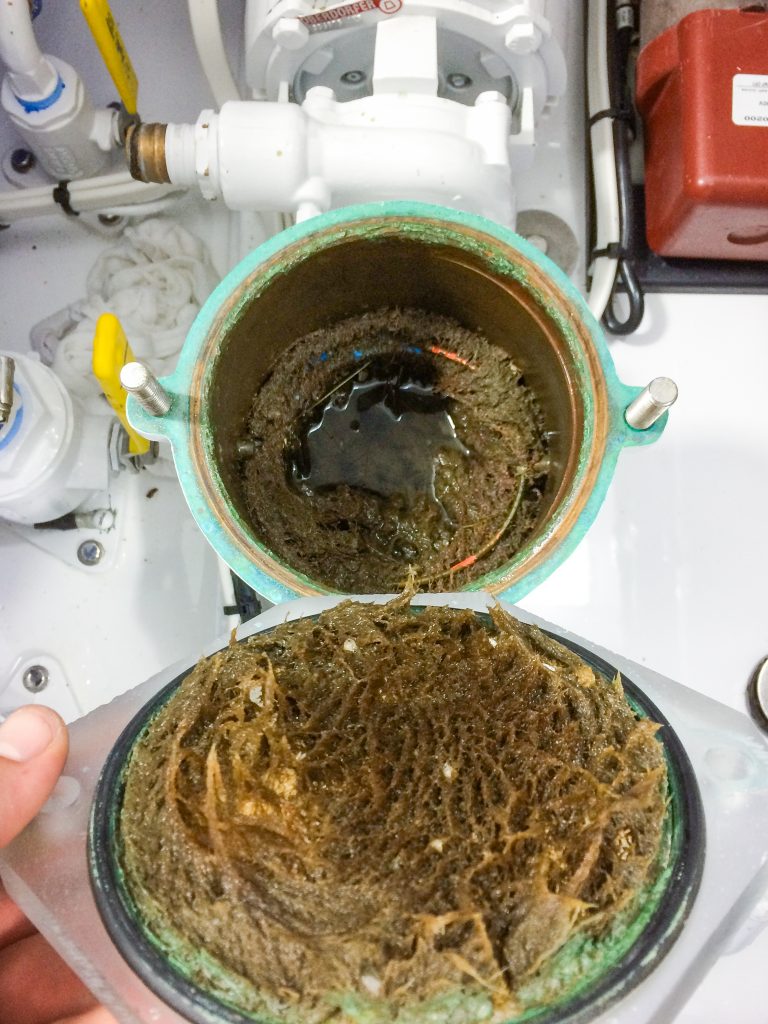
Descaling is the process of removing mineral buildup, or scale, from the internal components of a single-serve coffee maker. Over time, minerals present in water, such as calcium and magnesium, can accumulate and form a layer of scale. This can negatively affect the performance of the coffee maker, resulting in slower brewing times, reduced water flow, and even potential damage to the machine.
Why descale a single-serve coffee maker?
Descaling your single-serve coffee maker is essential for maintaining the quality and taste of your coffee. Scale buildup can alter the flavor of your brew, making it taste bitter or metallic. By regularly descaling your coffee maker, you can ensure that your coffee always tastes its best.
Additionally, descaling helps to prolong the lifespan of your machine. The accumulation of scale can clog the internal pipes and heating elements, leading to malfunctions and possible breakdowns. By descaling regularly, you can prevent these issues and extend the longevity of your single-serve coffee maker.
When should you descale your single-serve coffee maker?
The frequency of descaling depends on several factors, including the hardness of your water and how often you use your coffee maker. As a general guideline, it is recommended to descale your single-serve coffee maker every three to six months. However, if you have particularly hard water or use your machine daily, more frequent descaling may be necessary.
There are a few signs to watch out for that indicate it’s time to descale your coffee maker. If you notice a decrease in brewing speed, weak coffee extraction, unusual noises, or a buildup of scale visible on the internal components, it’s a good indication that descaling is needed.
What you’ll need for descaling
Before you begin the descaling process, gather the necessary supplies. You will need:
-
Descaling solution: Purchase a descaling solution that is specifically designed for coffee machines. Avoid using vinegar as it can leave an unpleasant odor that may affect the taste of your coffee.
-
Water: You will need clean, fresh water to flush out the coffee maker after descaling.
-
A container: Prepare a container that is large enough to hold the water used during the descaling process.
-
A clean cloth or sponge: This will be used to clean the external parts of the coffee maker.
Make sure you have all these items ready before starting the descaling process to ensure a smooth and efficient experience.
Step-by-step guide to descaling a single-serve coffee maker
-
Read the manufacturer’s instructions: Familiarize yourself with the specific descaling instructions provided by the manufacturer of your coffee maker. Different models may have slightly different procedures, so it’s important to follow the guidelines specific to your machine.
-
Empty and clean the coffee maker: Remove any remaining coffee pods and dispose of them. Make sure to remove the water reservoir if it is detachable and clean it thoroughly with soap and water. Rinse all removable parts and allow them to dry.
-
Prepare the descaling solution: Follow the instructions on the descaling solution package to mix the appropriate amount of solution with water. This typically involves diluting the solution with a specific ratio of water.
-
Fill the water reservoir: Pour the descaling solution mixture into the water reservoir of your coffee maker. Ensure that you do not exceed the maximum fill line indicated on the reservoir.
-
Start the descaling cycle: Place an empty mug or container on the drip tray to catch the descaling solution. Start the descaling cycle according to your coffee maker’s instructions. This may involve pressing a specific combination of buttons or selecting the descaling option from the menu.
-
Flush the coffee maker: Once the descaling cycle is complete, thoroughly rinse the water reservoir and refill it with clean water. Run a complete brewing cycle with just water to flush out any remaining descaling solution.
-
Clean the external parts of the coffee maker: While the coffee maker is still disassembled, take the opportunity to clean the external parts. Use a damp cloth or sponge to wipe down the exterior and remove any coffee stains or residue.
-
Reassemble and enjoy: Once all the parts are clean and dry, reassemble your single-serve coffee maker. Fill the reservoir with fresh, clean water, insert a new coffee pod, and brew your favorite cup of coffee. It should now taste better than ever, thanks to the descaling process.
Cleaning the external parts of the coffee maker
In addition to descaling the internal components of your single-serve coffee maker, it’s important to clean the external parts regularly. This not only keeps your machine looking its best but also helps to prevent any buildup of dirt or grime that may affect the overall performance.
To clean the external parts of your coffee maker, start by removing any detachable components such as the water reservoir and drip tray. Wash these parts with warm, soapy water, using a cloth or sponge to remove any coffee stains or residue. Rinse them thoroughly and allow them to dry completely before reassembling.
For the main body of the coffee maker, use a damp cloth or sponge to wipe away any spills or stains. Avoid using abrasive cleaners or scouring pads, as these can damage the machine’s finish. Once the external parts are clean and dry, reattach them to the coffee maker, and it will be ready for use.
Tips for maintaining your single-serve coffee maker
To keep your single-serve coffee maker in optimal condition, here are a few maintenance tips to follow:
-
Regularly clean removable components: Clean the water reservoir and other removable parts after each use. This helps to prevent any buildup of coffee oils and residue, keeping your machine hygienic and ensuring the best possible flavor in your coffee.
-
Use filtered water: If you have hard water, consider using filtered water to reduce mineral buildup and extend the time between descaling cycles. This can help to maintain the performance and lifespan of your coffee maker.
-
Store in a clean and dry place: After each use, ensure that your coffee maker is completely dry before storing it. This helps to prevent the growth of mold or mildew and keeps your machine in excellent condition.
-
Follow the manufacturer’s recommendations: Always refer to the user manual and follow the manufacturer’s instructions for cleaning, descaling, and maintenance. Different models may have specific requirements, so it’s important to adhere to the guidelines provided.
By incorporating these maintenance habits into your coffee routine, you can enjoy a consistently great cup of coffee and prolong the life of your single-serve coffee maker.
Alternative methods for descaling
While using a descaling solution is the most effective and recommended method for descaling a single-serve coffee maker, there are a few alternative options you can try:
-
Vinegar: Although not ideal due to the lingering odor, white vinegar can be used as a substitute for a descaling solution. Mix equal parts water and vinegar and follow the same descaling process outlined earlier. Afterward, make sure to run a few brewing cycles with clean water to eliminate any vinegar taste or smell.
-
Citric acid: Another alternative to a descaling solution is using citric acid powder. Dissolve one tablespoon of citric acid powder in one liter of water and follow the descaling process as usual.
While these alternatives may work to some extent, it’s important to note that they may not be as effective as dedicated descaling solutions. Additionally, using vinegar or citric acid can leave residual flavors in your coffee maker, affecting the taste of your brew.
How often should you descale a single-serve coffee maker?
The frequency of descaling depends on several factors, including the hardness of your water and how often you use your coffee maker. As a general guideline, it is recommended to descale your single-serve coffee maker every three to six months. However, if you have particularly hard water or use your machine daily, more frequent descaling may be necessary.
It’s always better to err on the side of caution and descale more often if you notice any signs of scale buildup or if the performance of your coffee maker seems to be diminishing. Regular maintenance and descaling will help to keep your coffee maker in optimal condition and ensure that your coffee always tastes its best.
Conclusion
Descaling your single-serve coffee maker is a crucial step in maintaining its performance and preserving the quality of your coffee. By removing mineral buildup and scale, you can prevent clogs, improve water flow, and ensure a consistently great-tasting brew. Remember to follow the manufacturer’s instructions, use a dedicated descaling solution, and clean the external parts regularly. With proper maintenance, your single-serve coffee maker will continue to serve you delicious cups of coffee for years to come. So don’t forget to descale—it’s the key to a perfect cuppa!