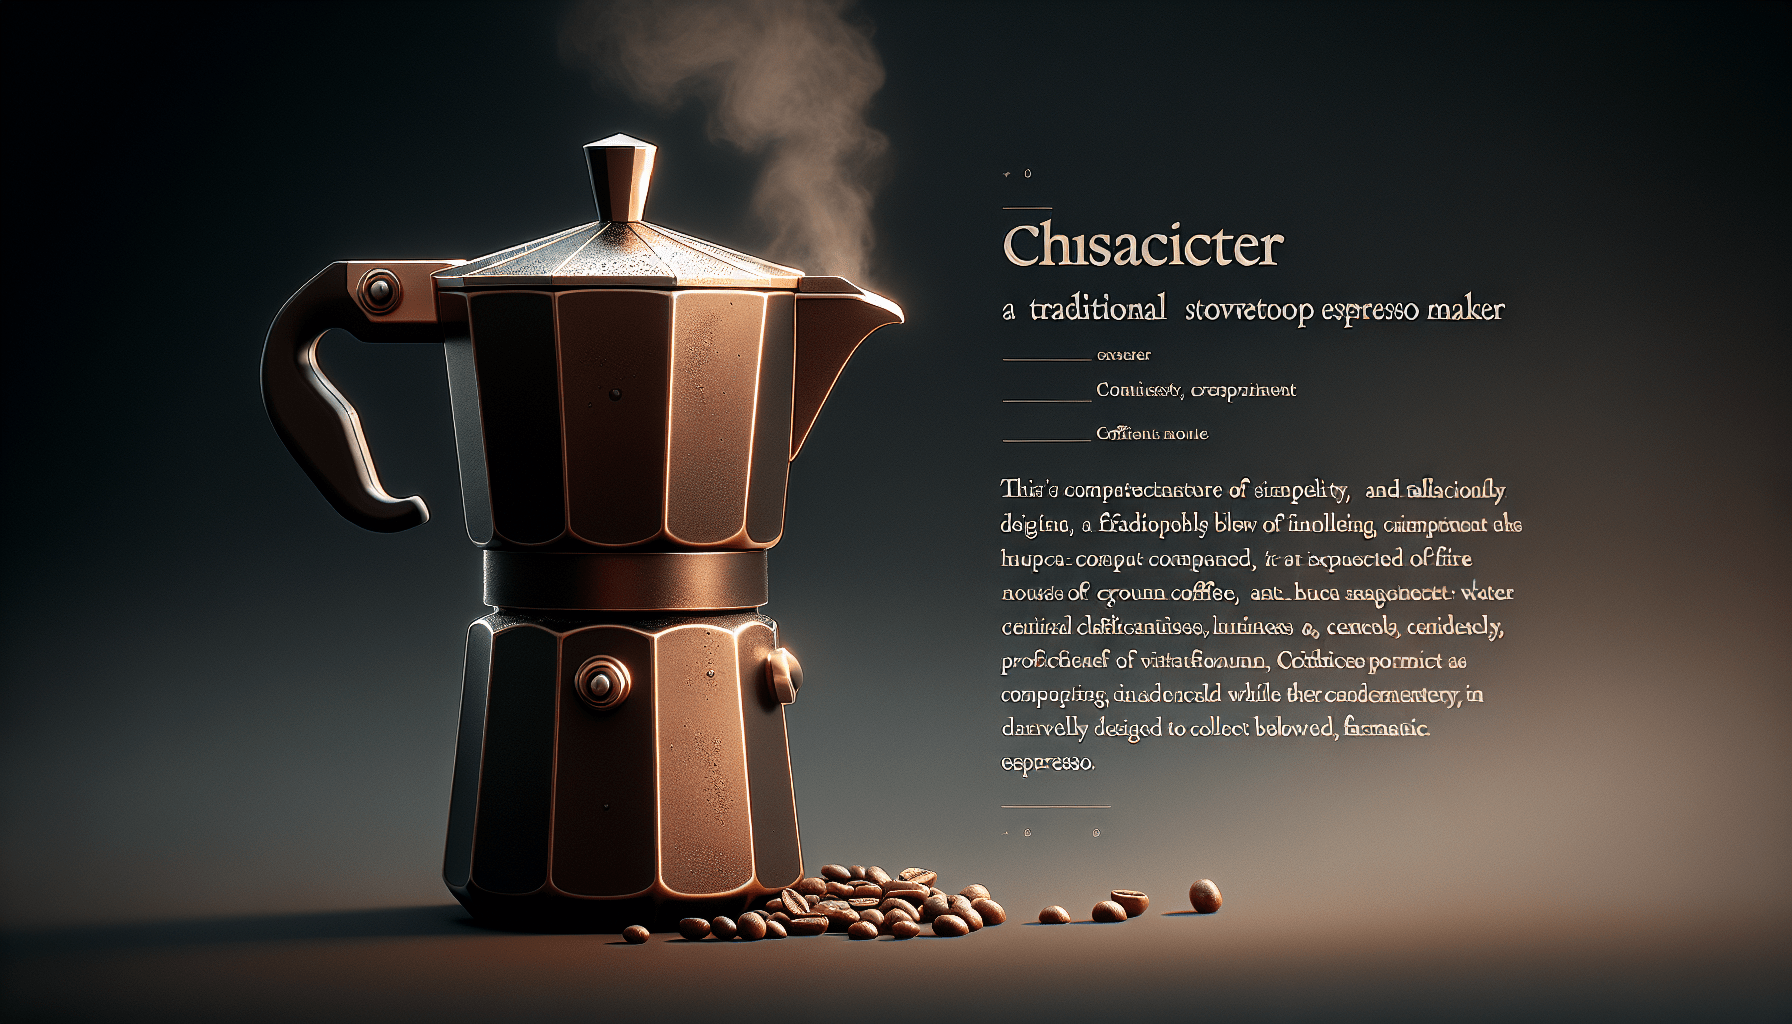
Imagine waking up in the morning, craving a delicious cup of espresso to start your day. But the thought of waiting in line at a coffee shop seems too daunting. Luckily, you have a stovetop espresso maker sitting in your kitchen, just waiting to be put to use. But before you rush to make your coveted cup of espresso, you may be wondering exactly how long it takes to brew espresso with a stovetop espresso maker. Well, fear not, my friend, because in this article, we will explore the timeframe it takes to brew the perfect cup of espresso using this classic brewing method.
Factors Affecting Brew Time
Type of Stovetop Espresso Maker
The type of stovetop espresso maker you use can have a significant impact on the brew time. Different models may have varying heating capabilities and designs that affect how efficiently they extract the flavors from the coffee grounds. While some models are specifically designed for quick brewing, others may take a bit longer to reach the desired temperature and pressure.
Heat Source
The heat source you use to brew your espresso plays a crucial role in determining the brew time. Stovetop espresso makers can be used on gas, electric, or induction stoves. Gas stoves provide more immediate and consistent heat, allowing for faster brewing times. Electric stoves, on the other hand, may take a bit longer to heat up, thus extending the brew time. Induction stoves can provide quick and precise heat, making them a great option for efficient brewing.
Coffee Grind Size
The size of the coffee grounds used in your stovetop espresso maker affects the brew time and the flavor extraction. A finer grind size allows for a faster extraction, resulting in a shorter brew time. Conversely, a coarser grind will require more time to extract the flavors, leading to a longer brew time. It’s essential to find the right grind size for your stovetop espresso maker to achieve the desired brew time and flavor profile.
Coffee Quantity
The amount of coffee you use in your stovetop espresso maker can also affect the brew time. If you use a higher quantity of coffee grounds, it will take longer for the water to pass through the filter and extract the flavors. Conversely, using a smaller amount of coffee can result in a faster brew time. Finding the right balance between coffee quantity and brew time is key to achieving the perfect cup of espresso.
Water Temperature
The temperature of the water used in the stovetop espresso maker is crucial for proper extraction and brew time. Ideally, the water should be heated to around 195-205°F (90-96°C) for optimal extraction. If the water temperature is too low, it will take longer for the coffee to brew and may result in a weaker flavor profile. On the other hand, if the water is too hot, it can lead to over-extraction and a bitter taste. Maintaining the right water temperature is essential for achieving the ideal brew time and flavor.
Preparation Time
Assembling the Stovetop Espresso Maker
Before you can start brewing your espresso, you need to assemble your stovetop espresso maker. This process typically involves attaching the top and bottom sections of the espresso maker securely. Make sure to follow the manufacturer’s instructions to ensure proper assembly. Taking the time to assemble the espresso maker correctly will help prevent any leaks during the brewing process and ensure a smooth and efficient brew.
Filling the Espresso Maker with Water
Once your stovetop espresso maker is assembled, it’s time to fill it with water. Fill the bottom section of the espresso maker with cold water up to the designated level indicated by the manufacturer. It’s crucial not to overfill the espresso maker to prevent water from overflowing during the brewing process. Using the right amount of water will ensure an optimal brew time and avoid any potential mishaps.
Adding Coffee to the Filter
After filling the espresso maker with water, it’s time to add coffee to the filter. Depending on the size of your stovetop espresso maker, you’ll typically need to add a specific amount of coffee grounds. Consult the manufacturer’s instructions or experiment to find the ideal coffee-to-water ratio for your desired strength and flavor. Adding the right amount of coffee will contribute to achieving the perfect brew time and flavor extraction.
Screwing the Top and Bottom Sections Together
Once the water and coffee are in place, screw the top and bottom sections of the stovetop espresso maker together. Ensure that the sections are securely fastened to prevent any leaks or pressure loss during the brewing process. It’s essential to double-check the tightness of the seal to guarantee a successful and efficient brew. Taking the time to properly secure the sections will help you achieve consistent and reliable brew times.
Brewing Time
Heating the Stovetop Espresso Maker
Now that your stovetop espresso maker is prepared, it’s time to heat it. Place the espresso maker on your chosen heat source, whether it be a gas, electric, or induction stove. Turn on the heat and wait for the water to start boiling and create the necessary pressure for the brewing process. The heating time can vary depending on your specific stovetop espresso maker and heat source. It’s crucial to monitor the heating process to ensure the optimal brew time and flavor extraction.
Extraction Process
As the water in the espresso maker heats up, it will start to create pressure, forcing the water upwards through the coffee grounds. The extraction process is the key step in brewing espresso, as it allows the water to come in contact with the coffee, extracting the desired flavors and oils. This process typically takes a few minutes, during which the water and the coffee grounds undergo a chemical reaction, resulting in the delicious cup of espresso.
Watching and Listening for the Brew
While your stovetop espresso maker extracts the flavors from the coffee grounds, it’s important to keep a close eye (and ear) on the brewing process. Watch for the characteristic stream of espresso flowing into the top chamber of the espresso maker. Listen for a sputtering or hissing sound, indicating that the water is actively passing through the coffee grounds. These visual and auditory cues will help you gauge the progress of your brew and ensure you achieve the desired brew time.
Ideal Brew Time
Personal Preference
Determining the ideal brew time for your stovetop espresso maker is a matter of personal preference. Some coffee enthusiasts prefer a shorter brew time for a milder and smoother cup of espresso, while others enjoy a longer brew for a bolder and more robust flavor. Experimenting with different brew times will help you find the perfect balance that suits your taste buds and preferences.
Coffee Strength
The strength of your espresso is another crucial factor when determining the ideal brew time. If you prefer a stronger cup of espresso, you may want to extend the brew time to ensure more intense flavor extraction. On the other hand, if you prefer a milder cup, a shorter brew time may be more suitable. Adjusting the brew time based on your desired coffee strength will allow you to fully enjoy your espresso experience.
Flavor Profile
The ideal brew time also depends on the specific flavor profile you want to achieve in your espresso. Different coffee beans and regions can have unique flavor characteristics that can be enhanced or subdued by adjusting the brew time. Experimenting with shorter or longer brew times can bring out different flavor notes, such as acidity, sweetness, or bitterness. Pay attention to the flavors you enjoy and use the brew time as a tool to unlock their full potential.
Common Brew Times
3-4 minutes
A brew time of 3-4 minutes is a common range for stovetop espresso makers. This duration is typically suitable for achieving a balanced espresso flavor profile. It allows for enough time for the water to extract the flavors from the coffee grounds without over-extracting or causing bitterness. If you prefer a milder cup of espresso, aiming for the lower end of this range may be more suitable.
4-5 minutes
A brew time of 4-5 minutes is slightly longer and often preferred by those who enjoy a bolder and more robust espresso. This additional time allows for a more thorough extraction of the coffee flavors, resulting in a stronger taste. If you prefer a more pronounced coffee experience, extending the brew time within this range may be the way to go.
5-6 minutes
At the upper end of the spectrum, a brew time of 5-6 minutes is typically reserved for those seeking an incredibly bold and intense espresso. This longer duration allows the water to fully interact with the coffee grounds, extracting the maximum flavors and oils. It’s essential to note that brew times at this range may result in a more bitter cup of espresso, so it’s important to consider your personal preferences and the specific coffee beans used.
Troubleshooting Slow Brews
Insufficient Heat Source
If you find that your brew time is consistently longer than expected, the heat source may be the culprit. Electric stoves, in particular, may not provide immediate and consistent heat, leading to slower brewing times. Consider using a gas stove or an induction stove for more efficient and faster brewing.
Incorrect Grind Size
Using the wrong grind size can also contribute to slow brews. If the coffee grounds are too fine, the water may struggle to pass through them, increasing the brew time. Conversely, if the grind size is too coarse, the water will flow through too quickly, resulting in a weak and under-extracted cup of espresso. Adjusting the grind size to a more suitable option can help improve the brew time.
Overpacking the Coffee Filter
Overpacking the coffee filter can impede the flow of water and prolong the brew time. Make sure to use the recommended amount of coffee grounds and avoid packing them too tightly in the filter. Experimenting with the coffee quantity and ensuring a proper distribution of grounds will contribute to a smoother and faster brewing process.
Low Water Temperature
If the water temperature is too low, it will take longer for the coffee to brew and may result in a weaker flavor profile. Ensure that the water is heated to the proper temperature range of 195-205°F (90-96°C) to achieve the desired brew time. Using a thermometer or an electric kettle with temperature control can help you maintain the optimal water temperature.
Tips for Faster Brews
Use a Gas Stove
If you have access to a gas stove, using it for your stovetop espresso maker can significantly speed up the brew time. Gas stoves provide immediate and consistent heat, allowing for faster brewing and more efficient extraction.
Pre-heat the Water
To speed up the brew time, you can pre-heat the water before filling the espresso maker. Start with hot water from your electric kettle or run the cold tap water until it’s hot. By using pre-heated water, you reduce the time it takes for the water to heat up on the stove and reach the desired brewing temperature.
Choose a Coarser Grind
Adjusting the grind size to a coarser setting can help speed up the brew time. A coarser grind allows for faster water flow and extraction, reducing the overall brew time. Experiment with various grind sizes to find the sweet spot that balances your desired flavor profile and brew time.
Tamp the Coffee Lightly
Tamping the coffee grounds too firmly in the filter can impede water flow and slow down the brewing process. Instead, tamp the coffee lightly to provide enough resistance for the water to pass through easily but without excessive obstruction. This will help maintain a faster brew time and improve the efficiency of flavor extraction.
Cleaning and Maintenance
Disassembling the Espresso Maker
After you have brewed your espresso, it’s important to clean and maintain your stovetop espresso maker to ensure consistent performance and longevity. Start by disassembling the espresso maker, carefully removing the top and bottom sections. Follow the manufacturer’s instructions for disassembly to avoid any damage to the components.
Rinsing and Cleaning the Components
Once the espresso maker is disassembled, rinse the components with warm water to remove any coffee residue. Use a gentle brush or sponge to clean the filter and other parts. Avoid using harsh cleaning agents, as they may leave behind residue or alter the flavor of your future brews. Thoroughly rinse all the parts to ensure they are clean and ready for your next brewing session.
Removing Coffee Residue
If you notice any stubborn coffee residue on the components, you can use a mixture of warm water and mild dish soap to remove it. Gently scrub the affected areas with a sponge or brush, making sure to rinse thoroughly afterward. Removing coffee residue regularly will prevent any buildup that can impair the performance and flavor of your stovetop espresso maker.
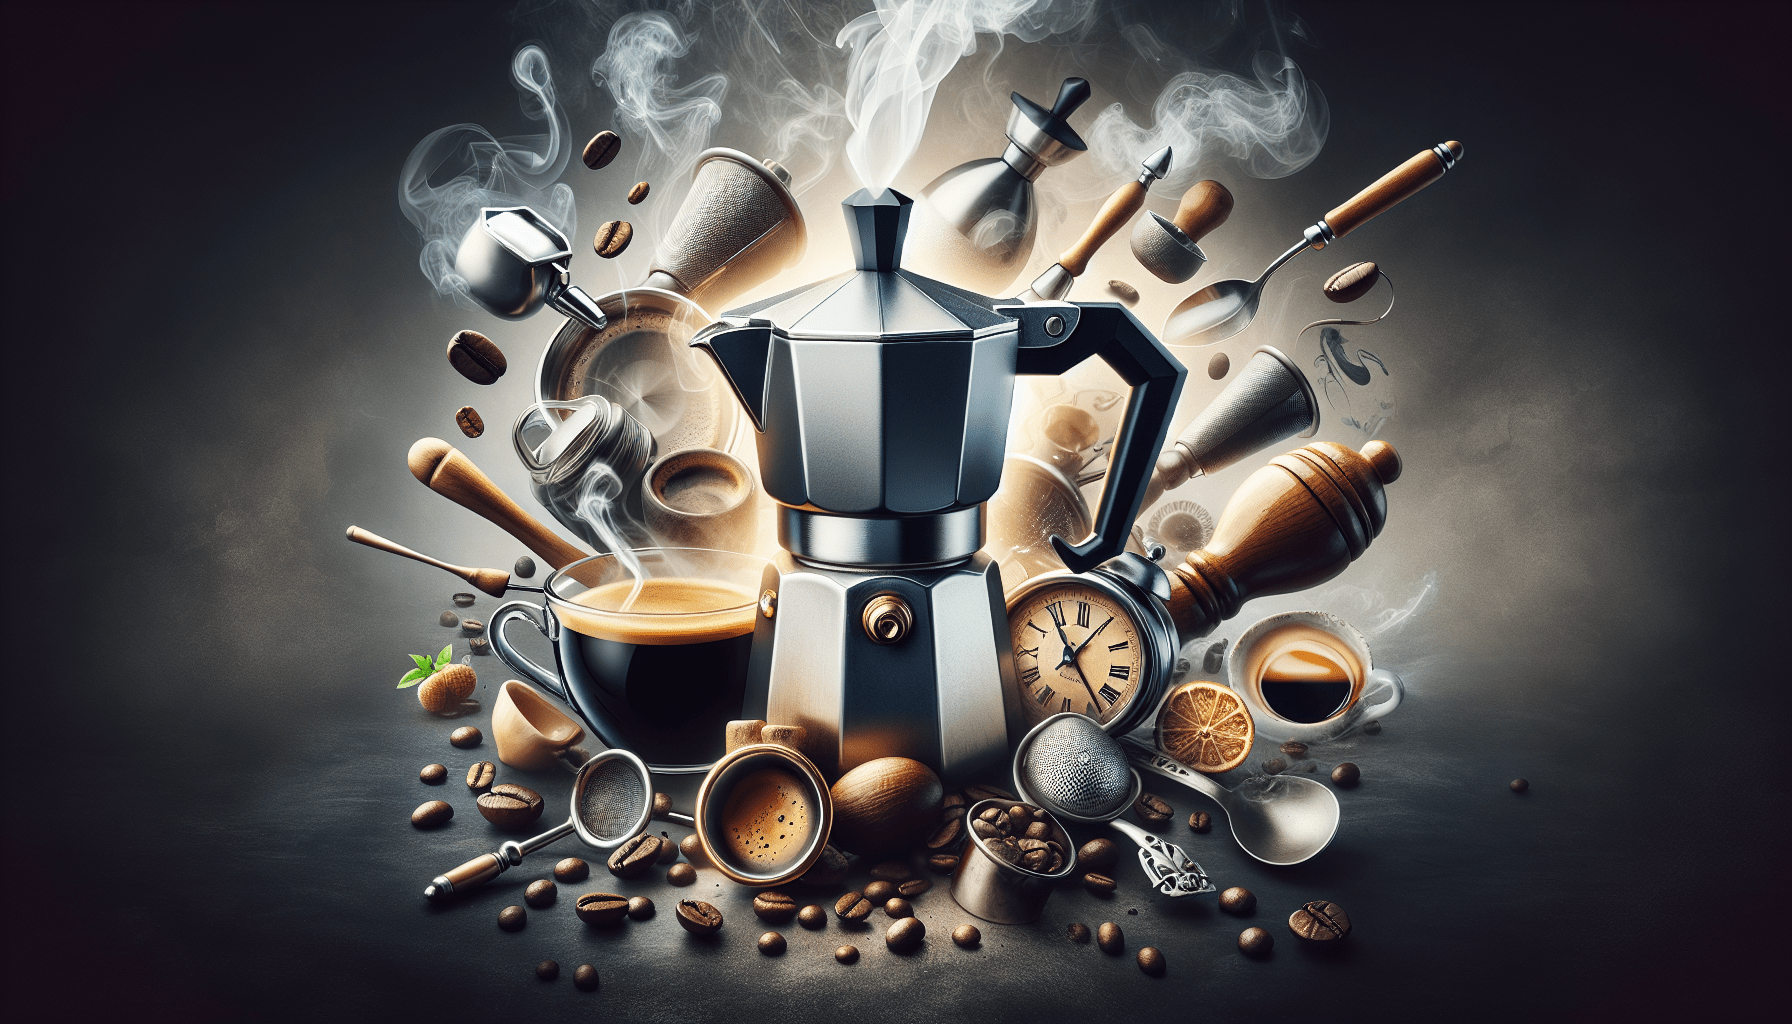
Conclusion
Brewing espresso with a stovetop espresso maker is a versatile and enjoyable process. By considering the factors that affect brew time, such as the type of espresso maker, heat source, coffee grind size, quantity, and water temperature, you can manipulate the brewing process to achieve your desired results. Experimenting with different variables will help you personalize your espresso experience and discover your ideal brew time.
Remember to follow the proper preparation steps, including assembling the espresso maker, filling it with water, adding coffee to the filter, and securely screwing the sections together. Pay attention to the heating process, extraction, and visual and auditory cues that indicate the progress of your brew.
When determining the ideal brew time, consider your personal preference, desired coffee strength, and flavor profile. Explore common brew times, ranging from 3-6 minutes, to find what suits your taste buds best.
If you encounter slow brews, troubleshoot by checking the heat source, adjusting the grind size, avoiding overpacking the coffee filter, and ensuring the water temperature is optimal. To achieve faster brews, try using a gas stove, pre-heating the water, choosing a coarser grind, and tamping the coffee lightly.
Lastly, remember to clean and maintain your stovetop espresso maker for optimal performance and longevity. Disassemble the components, rinse, and clean them regularly to remove any coffee residue.
By following these tips and techniques, you can master the art of brewing espresso with a stovetop espresso maker and enjoy delicious cups of espresso in a reasonable time frame. Happy brewing!